

aussiegreenthumb
-
Posts
56 -
Joined
-
Last visited
Content Type
Profiles
Forums
Events
Plant Articles
Fish Articles & Guides
Clubs
Gallery
Posts posted by aussiegreenthumb
-
-
thanks guys for the positive feedback,i hope to make a prototype stand soon but in 6mm incased granite with active led acyrilic shadowlines and logo
-
now were finally getting close to the end and can almost taste a cold one coming on
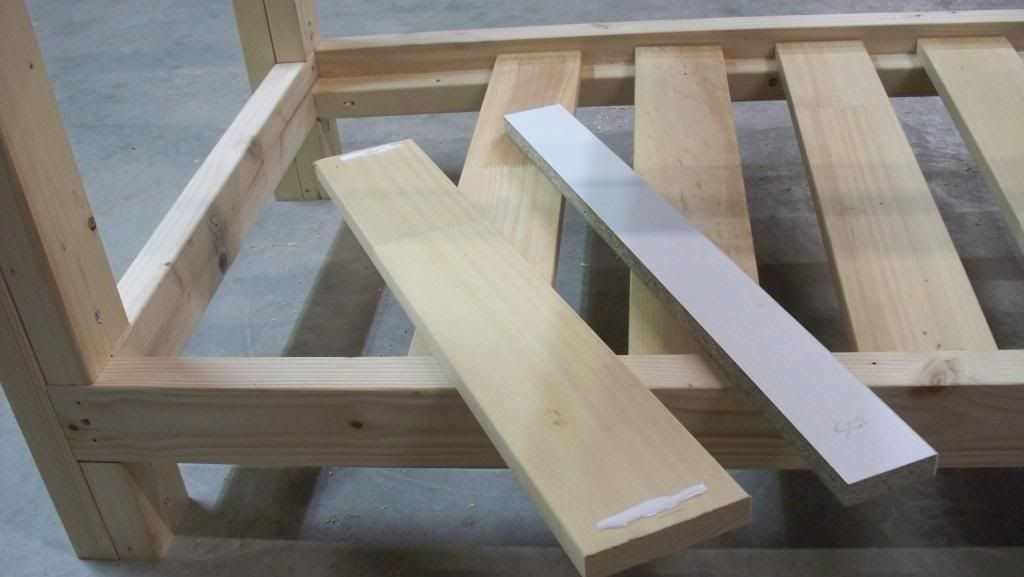
sorry but I forgot to take some pics of me ripping the bottom rail and the shelf slats
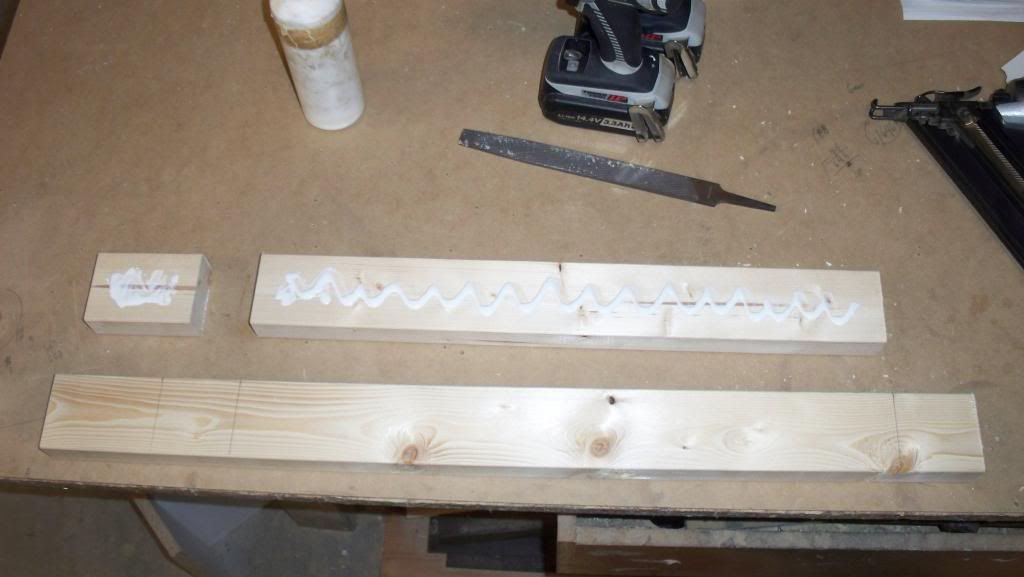
here ive tipped the stand over on its side and installing the slat support rail on, its easy on the back and neck. tipp it over and repeat on the other side
now some maths and thinking is involved to make life easier with getting your spacings right. so what you do is get all your slats and bunch them together and measure them. then get the total distance of the rail support. then minus the combined slats measurement and divide it by the total number of spacings that will give you the exact measurement for the spacing in the slats. simple Right?
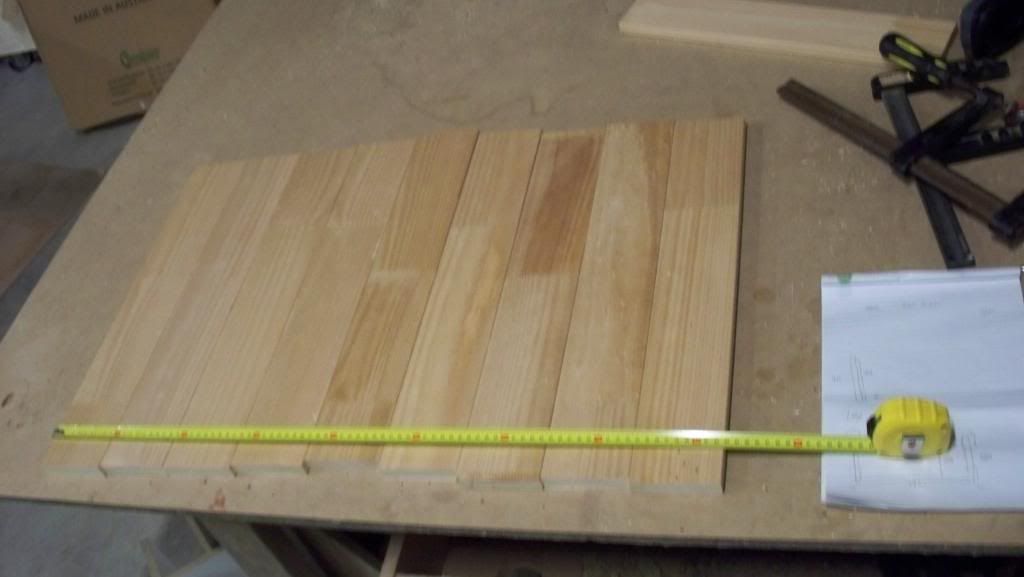
now cut a scrap bit of wood to the width of the spacing you came up with and place next to it
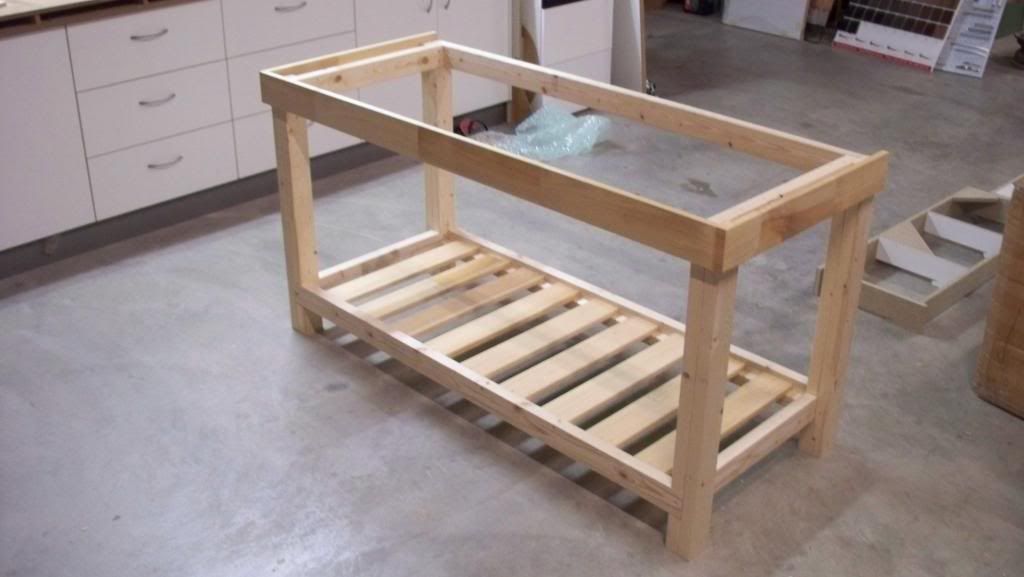
now you can glue and nail the slats on and congratulate yourself on finishing an awesome stand that you have made for a lifetime
so there you have it folks on how to make an aquarium stand with out trenching,routering or any tricky bits well except for the mitring but its well worth learning Click here to enlarge
I hope you have enjoyed the process and pics along the way and this design is very strong and recommended for any heavy weight. you can also add another leg in the middle and make yourself a 6,8 or even ten foot tank stand.
i hope you enjoyed this build thread and many more stands to come in the next coming year,cheers to all and keep green from aussie :thup:
-
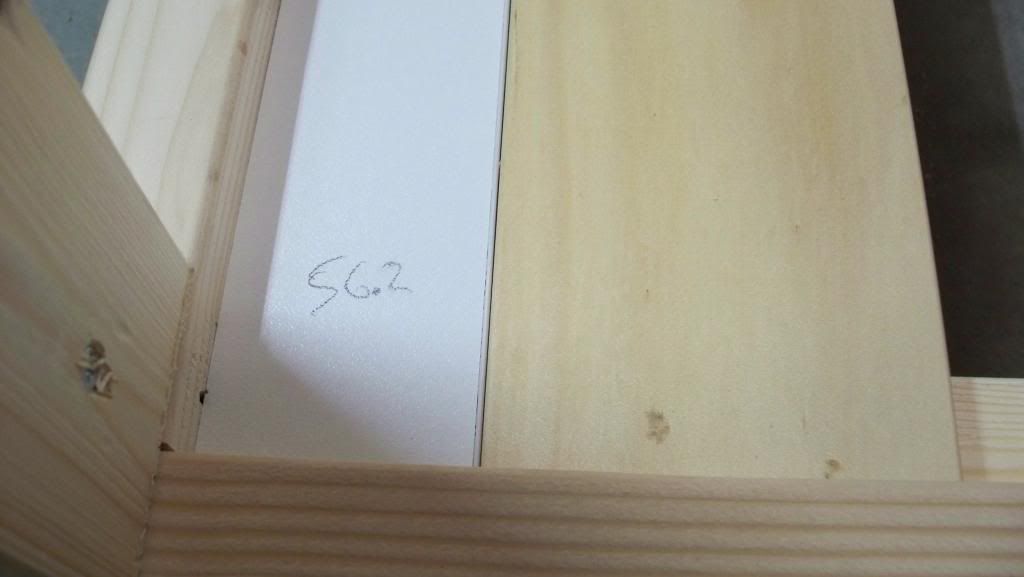
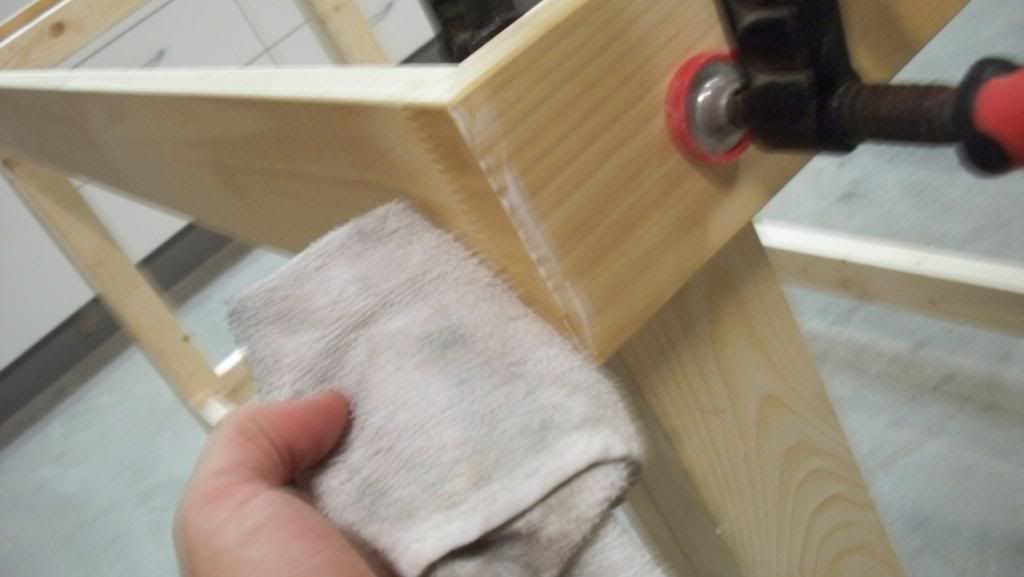
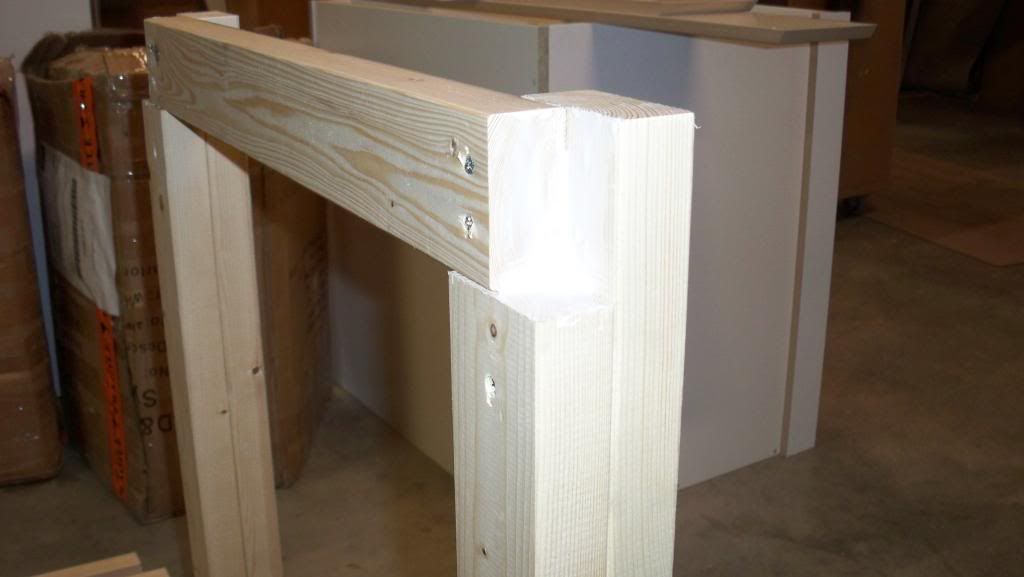
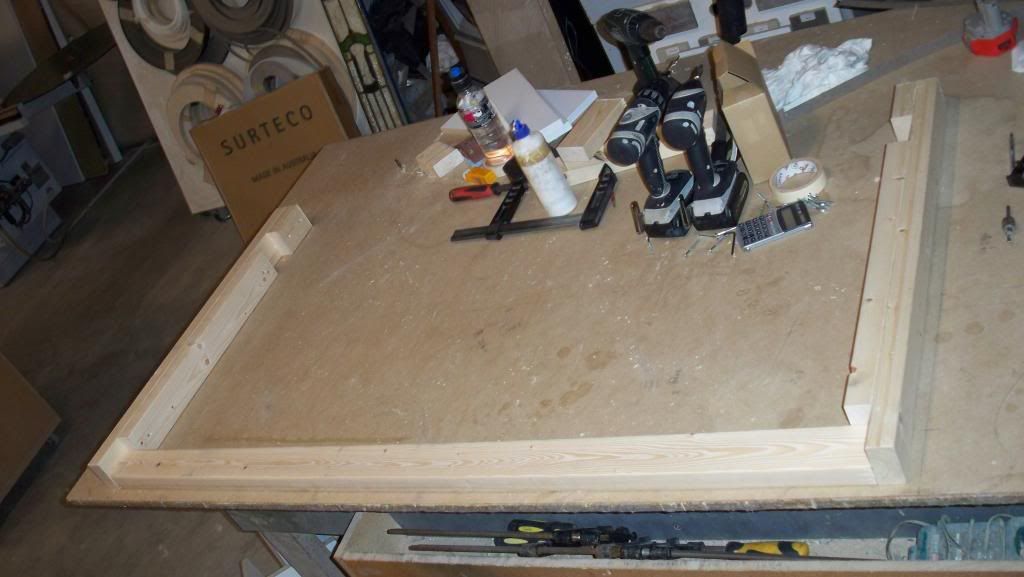
now glue the mitired facia panel (aka) trim-skirt and get some g-clamps handy
clamped on and ready to adjust and screw off
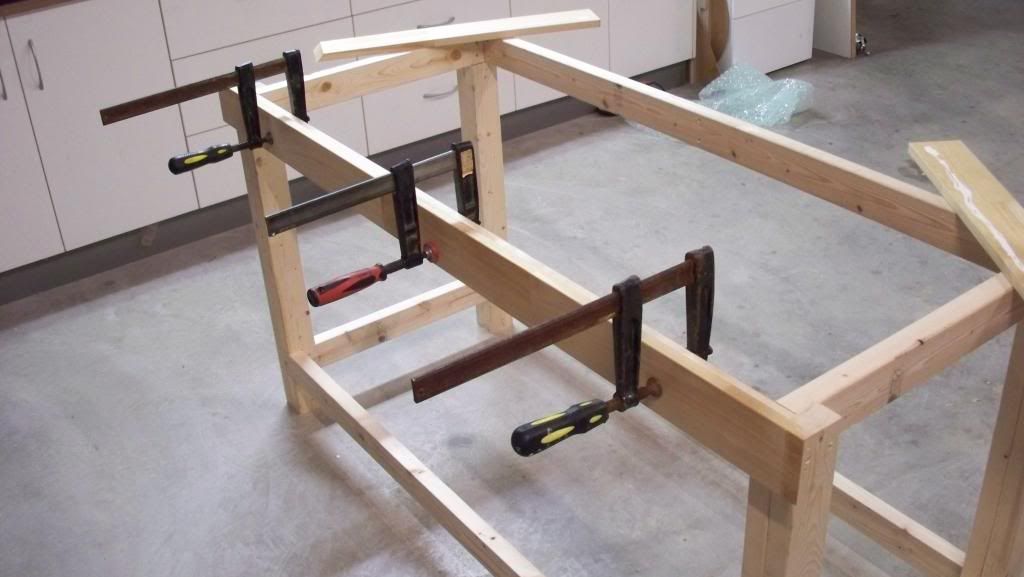
do the same process with the end mitred trims-skirting
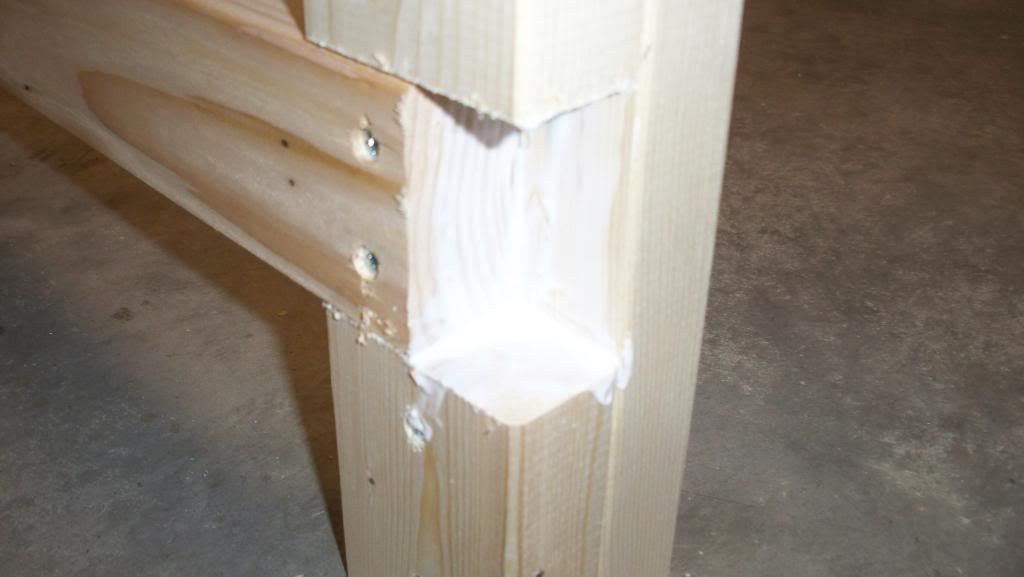
put plenty of glue on the mitre that way its going to glue nice and tight and wipe of with a wet rag. note that any undried glue can be wiped of easy with a wet towel or rag.
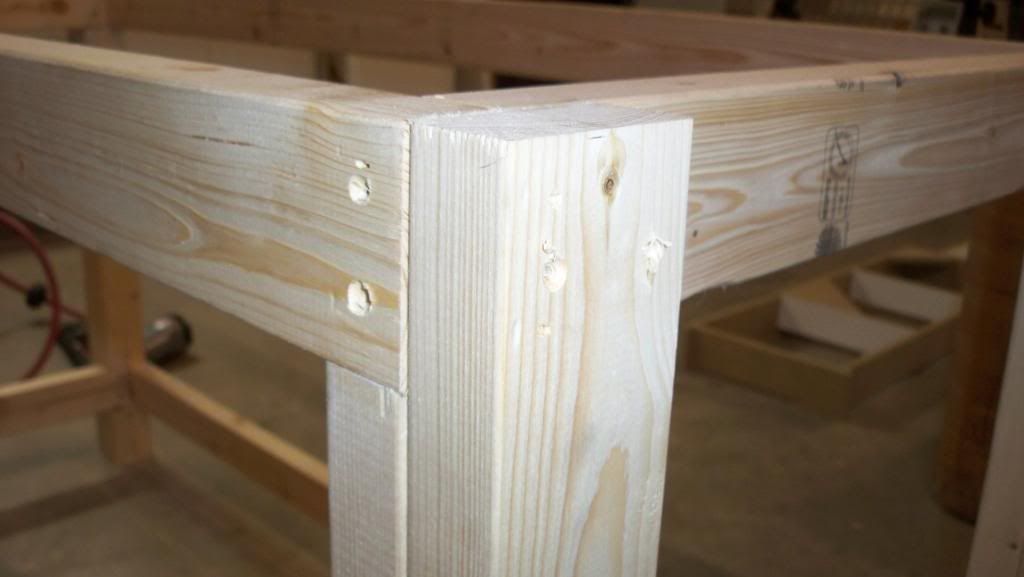
now you can see how clean the corner is looking and way better than an ugly but joint
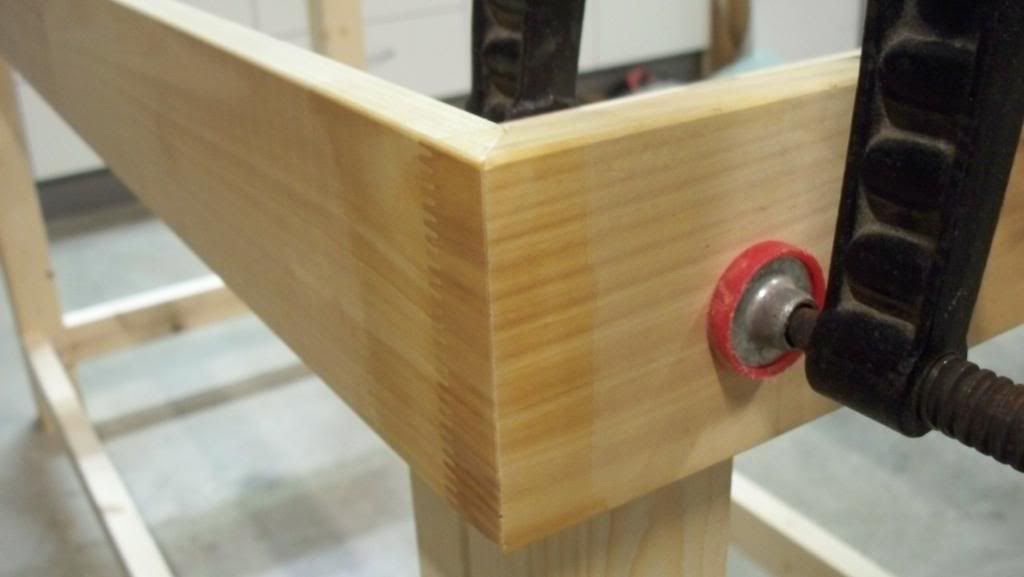
once screwed off check that its square then sit back and have another break
-
now on to the skirting or trim. heres some nice pieces of finger jointed pine arcatrave
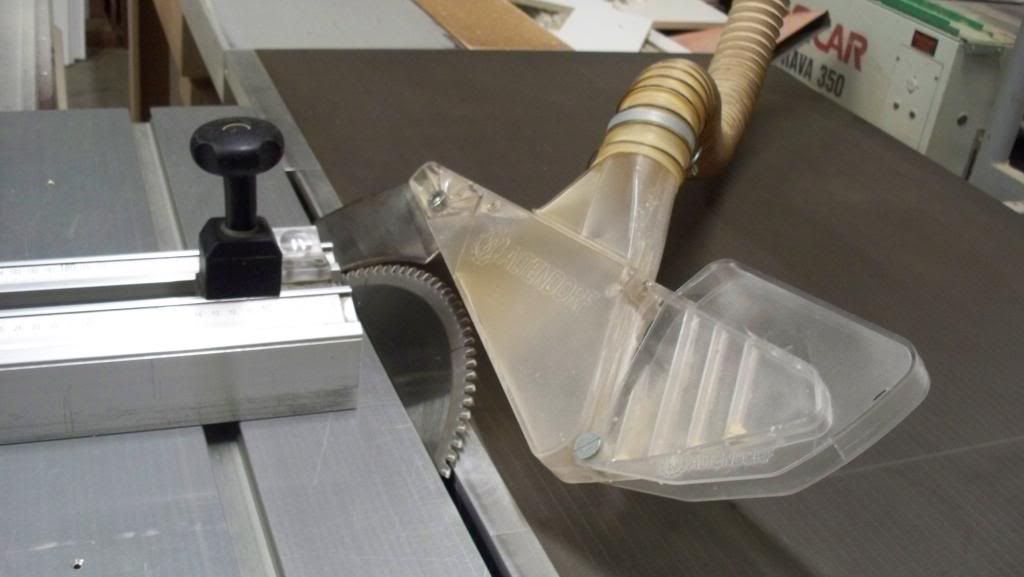
set your drop saw @ 45degrees or if you have a digital sliding table saw in the back shed
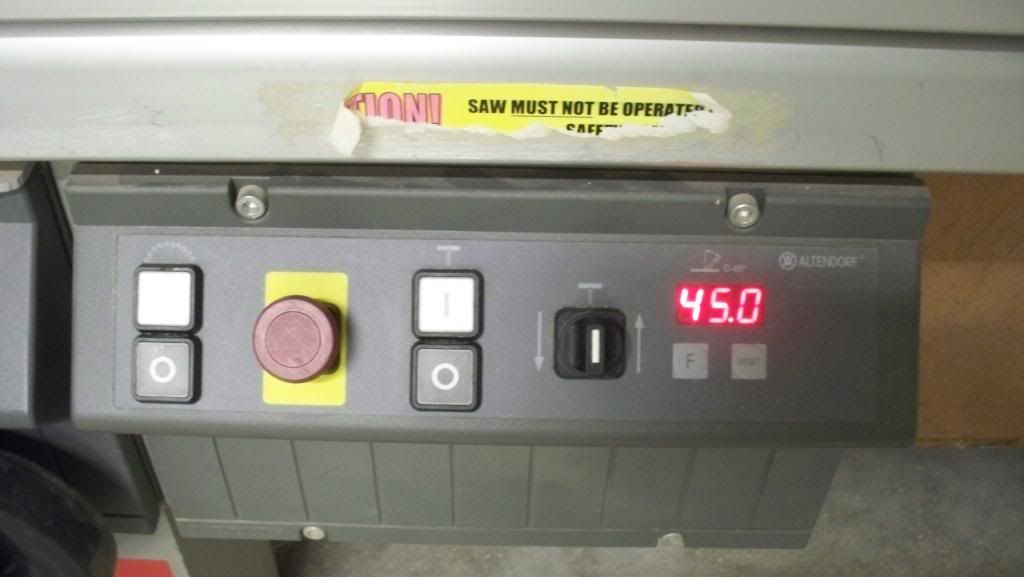
blade set @ 45 (altendorf) I love this saw
cut one end of the pine arcatrave and place right on the end of the end leg
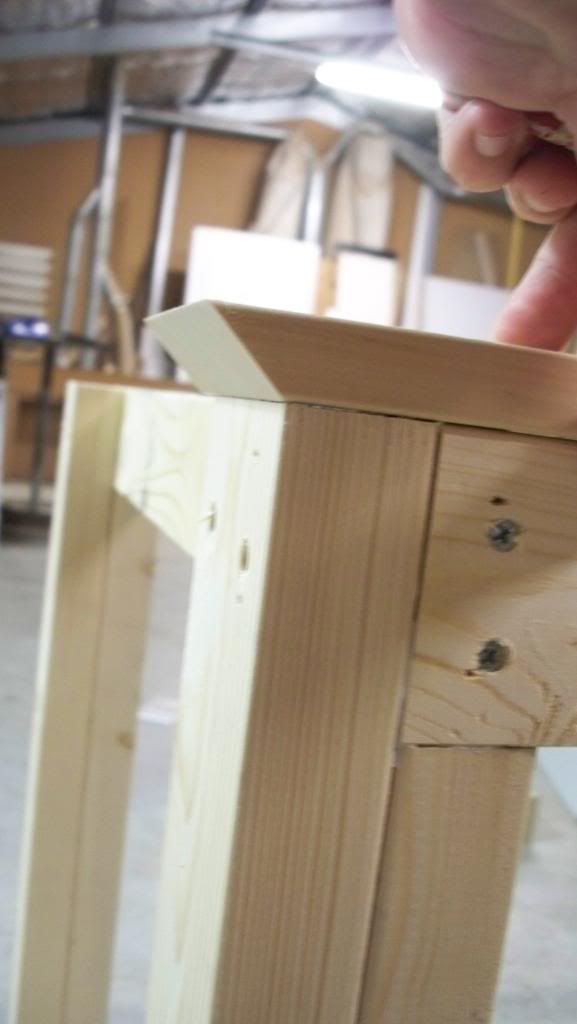
then mark with a pencil on the other end where the leg meets, this is the easiest way to do precision mitring
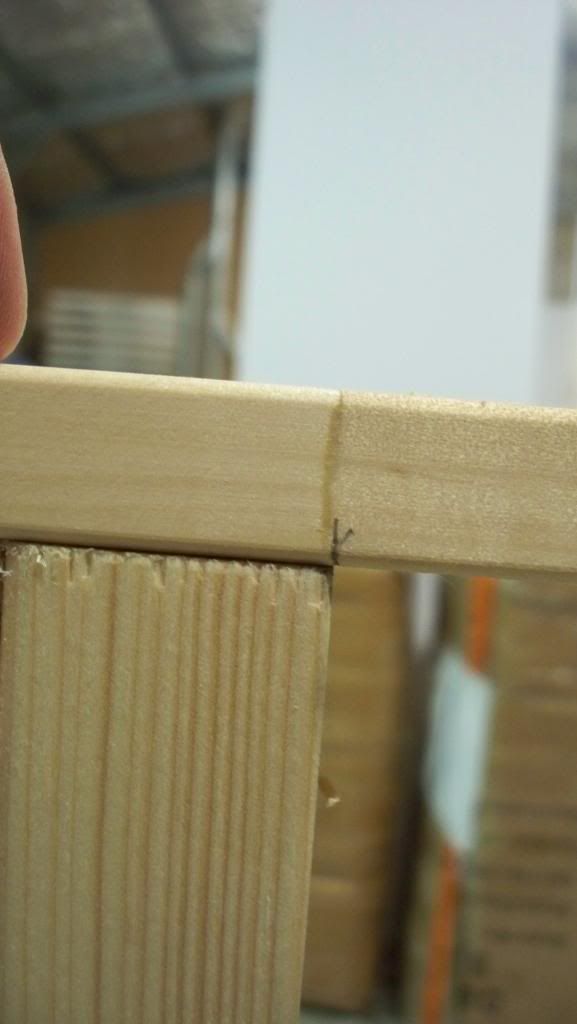
now cut it at 45 and make sure the bottom of the cut is where the pencil is.
-
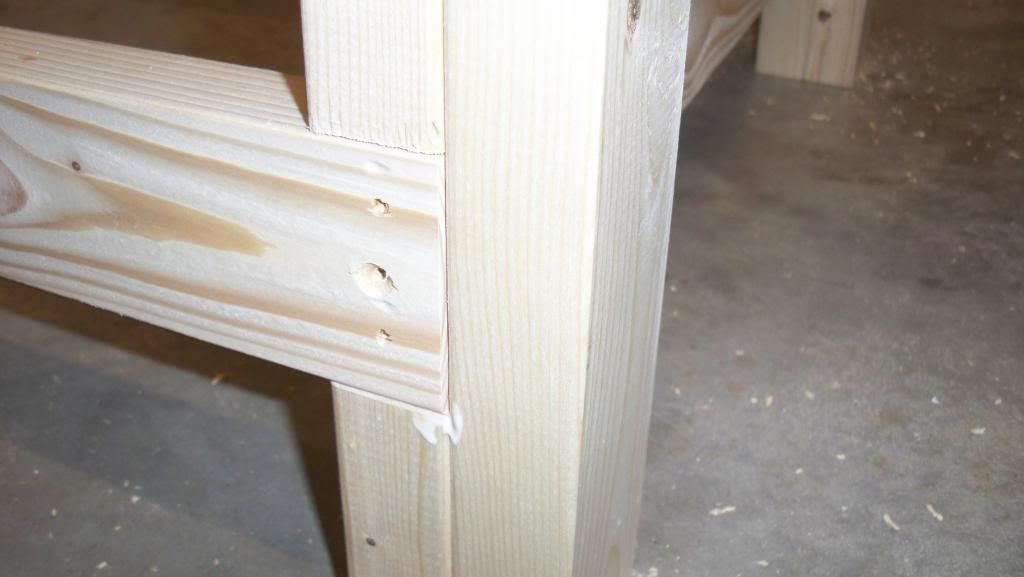
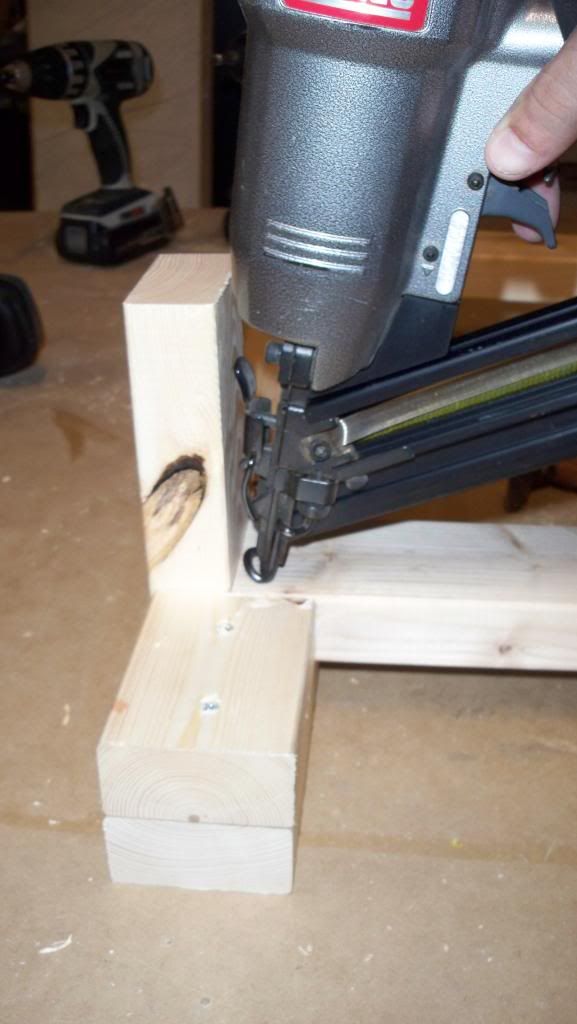
now start tacking,pilot drilling and screwing the support beams in
bottom screw hole, note I have only put one in because its the front and didn't want to many screwholes to see. the glue and nails will hold it (trust me)
once the stand is all glued,nailed and screwed off its time to have a quick break and look at what progress yourv made

heres some closeup pics of the construction without flash
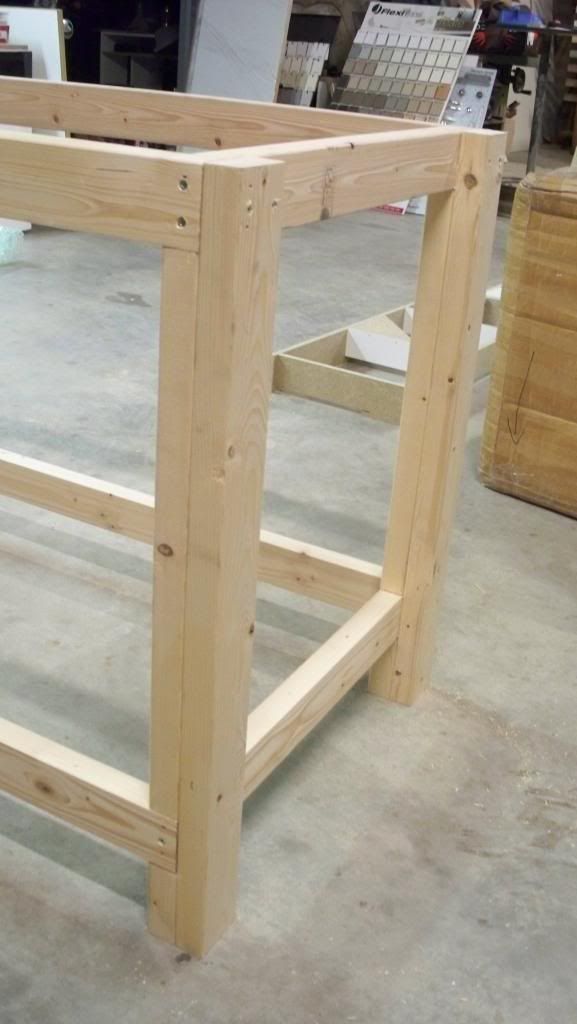
side view
-
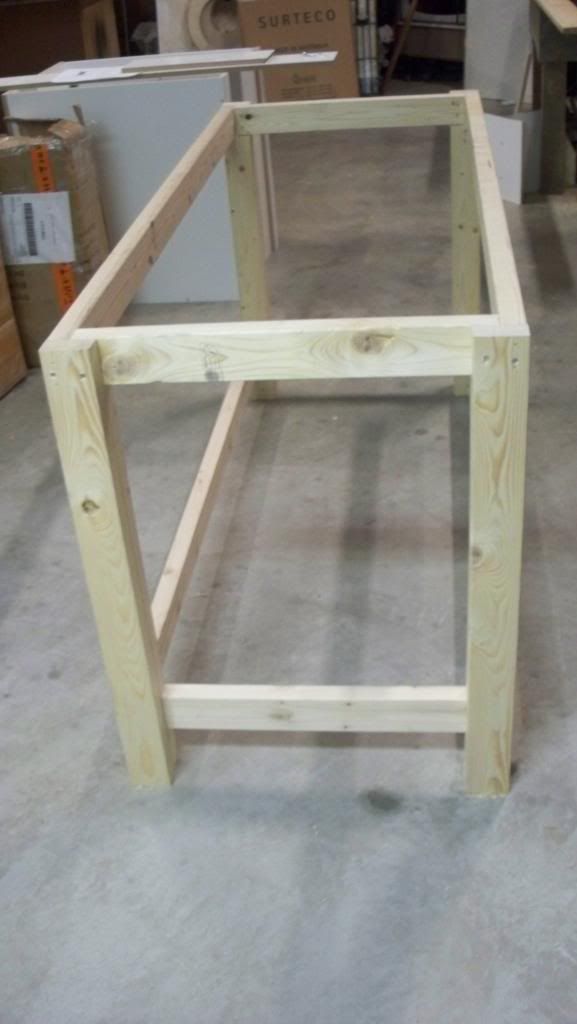
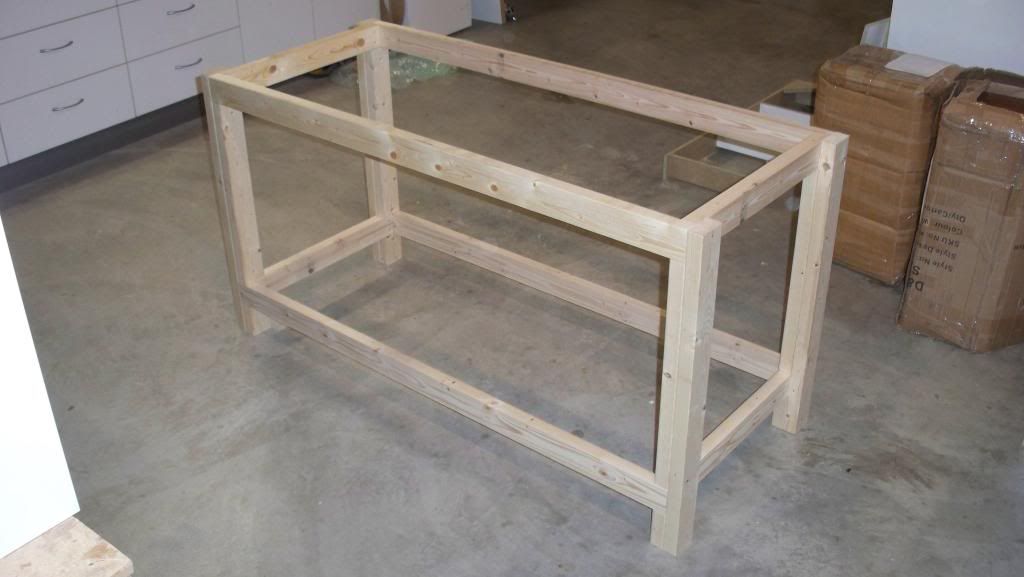
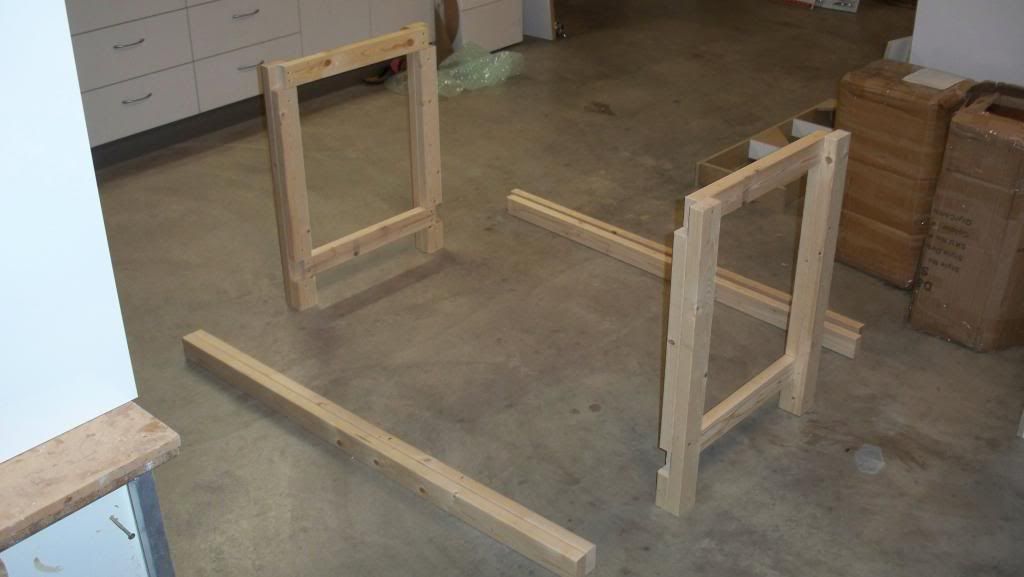
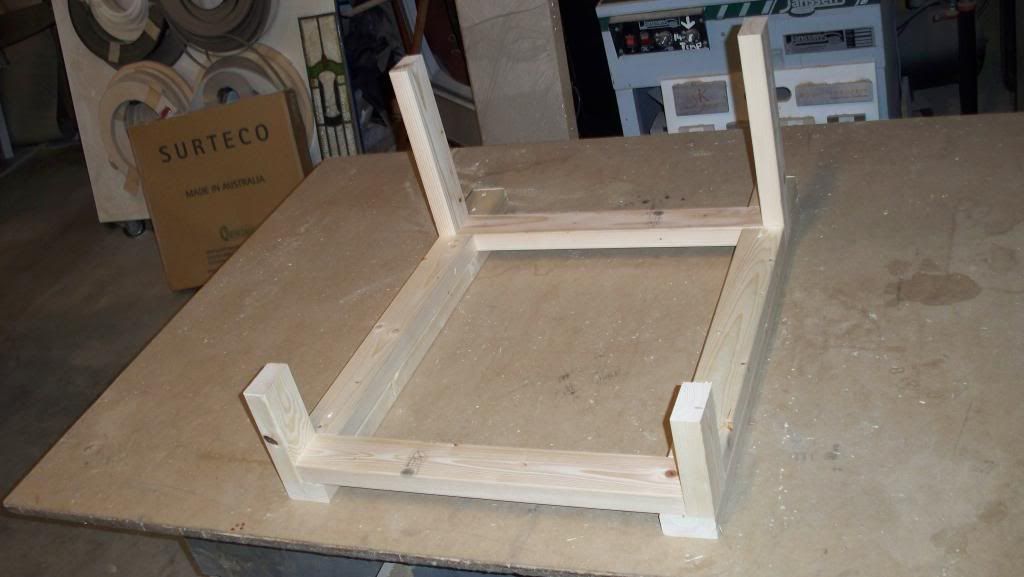
so there we have it two complete side supports
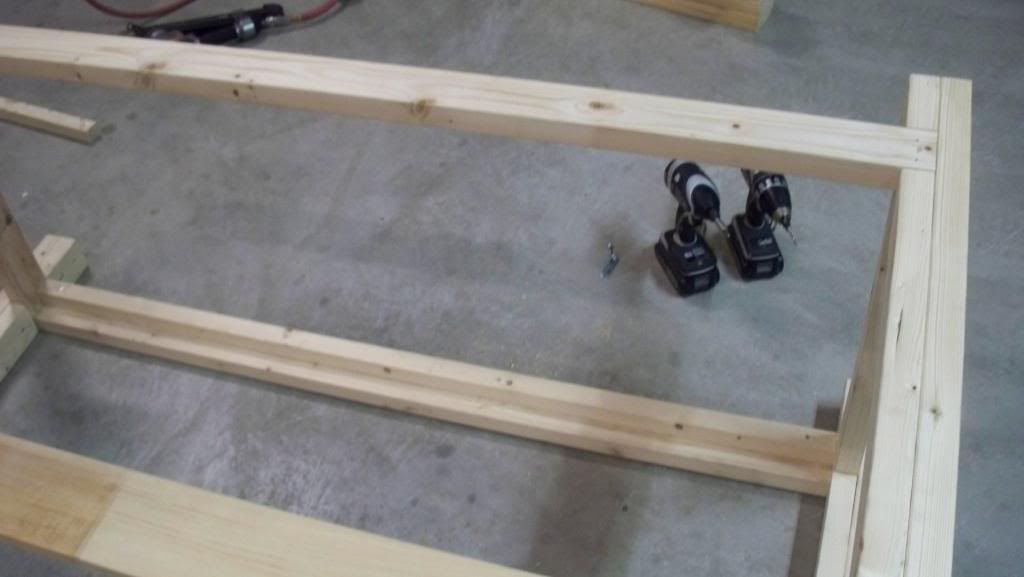
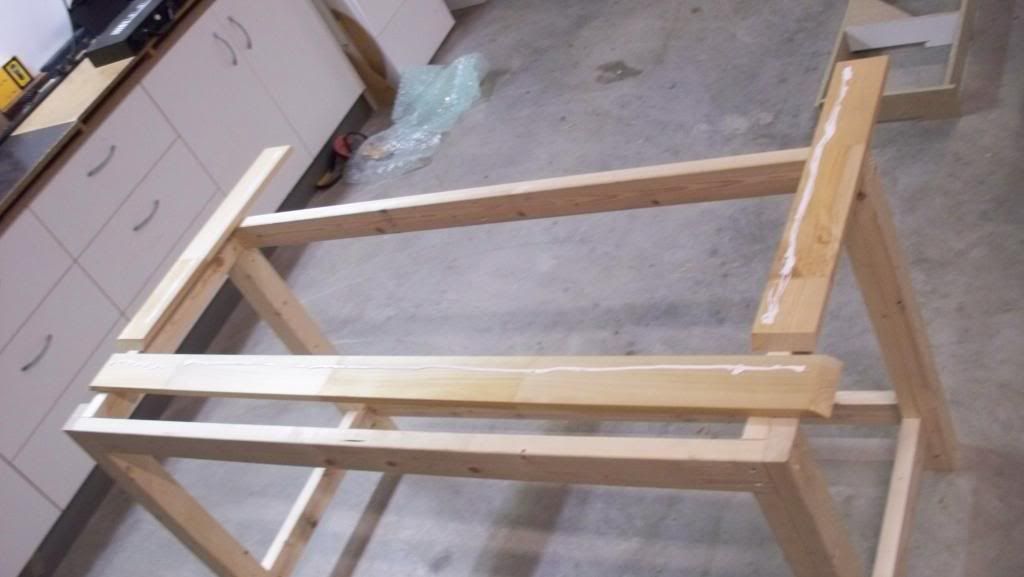
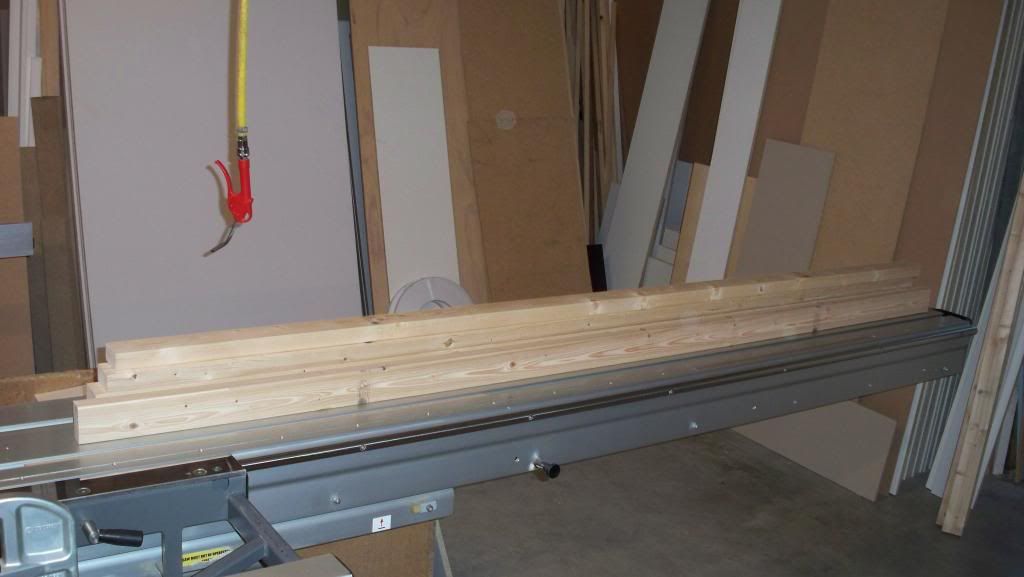
now get the four main horizontal support beams that you cut earlier
now dry fit them in and make sure every thing is looking square (this is actualy looking like a stand now
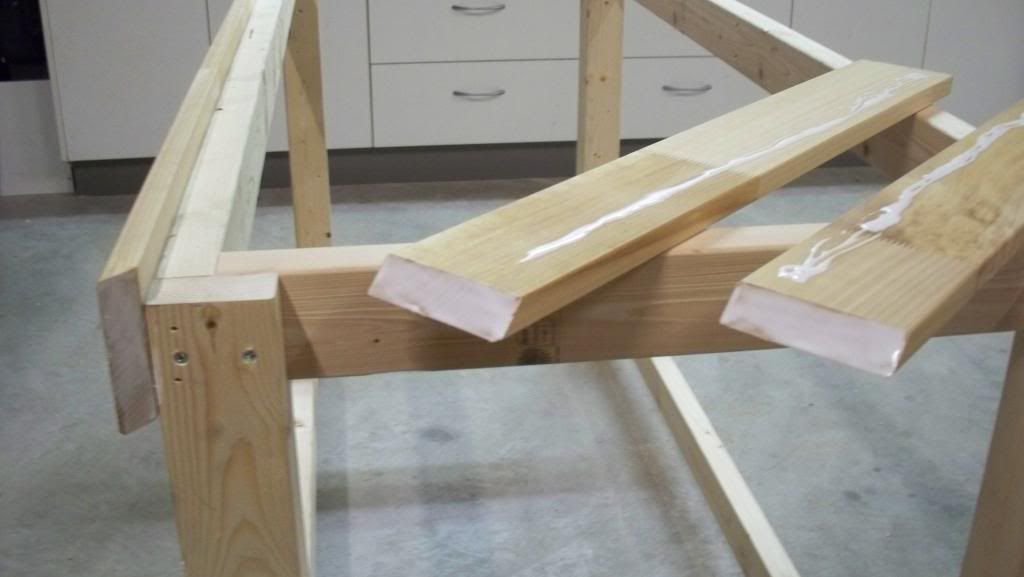
take the horizontal supports off and get ready for gluing
make sure there plenty of glue and don't worry if your concerned about it dripping out, you can use a wet towel do wipe off excess glue
bottom glued up
-
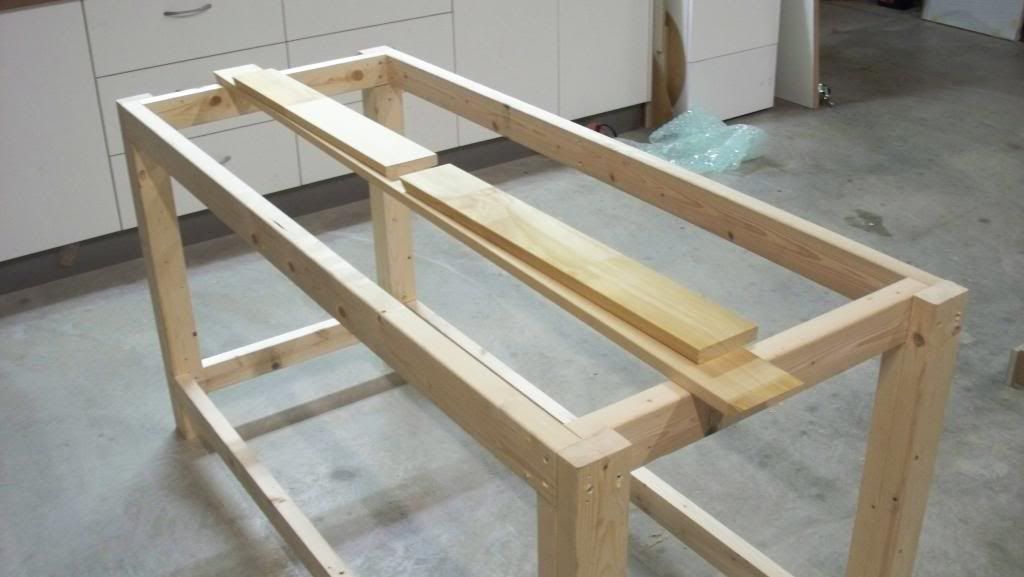
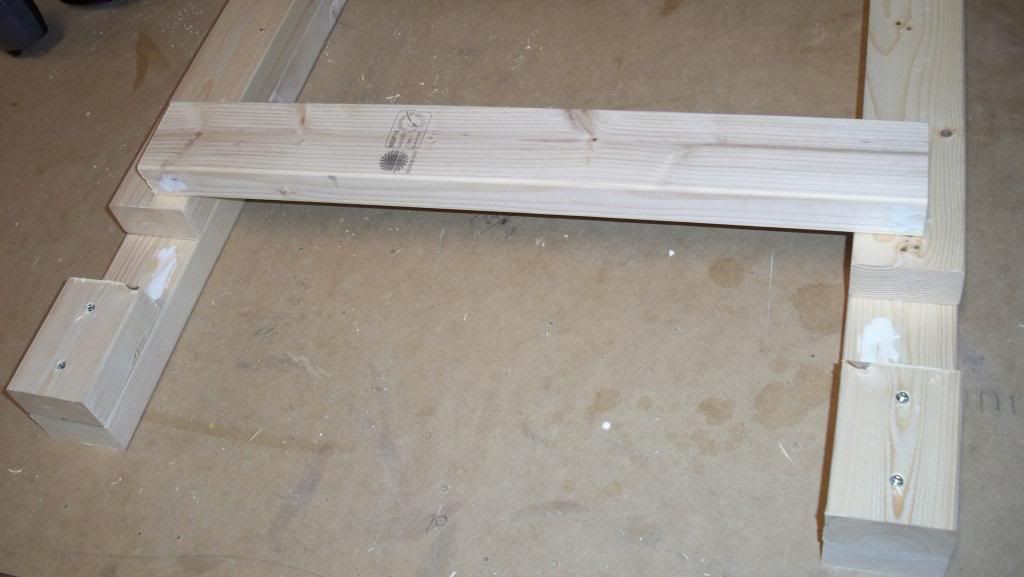
now lay two of the legs on a flat table and work out what length the main horizontal support beam is. what I did is minus the width of the two legs and took it off the total length giving me the exact size. then cut the main support beam and test it and measure making sure its right. then cut the other 3 beams
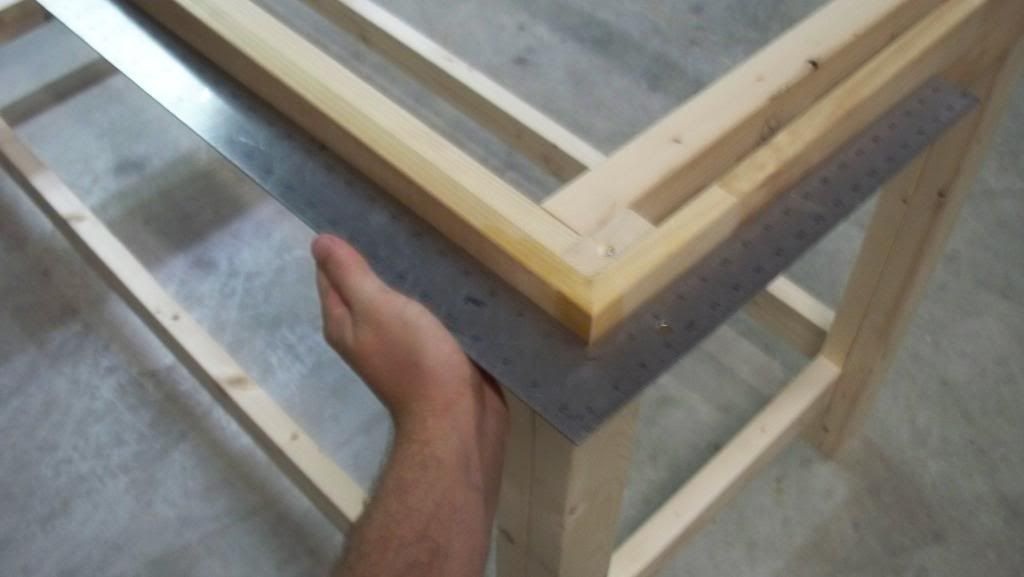
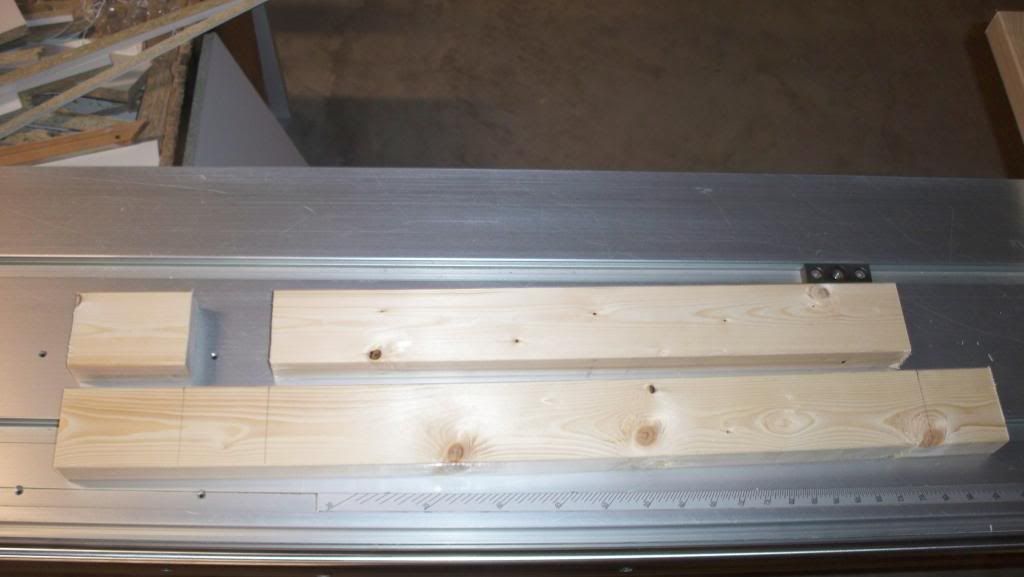
now put away the four main support beams and do the same with the side support beams. in the photo you can see I have used spacers or dummy pieces to get the exact length so I can measure and double check
in this pic I am using a 90degree roofing square to check that its square when im gluing nailing the horizontal support beams in.
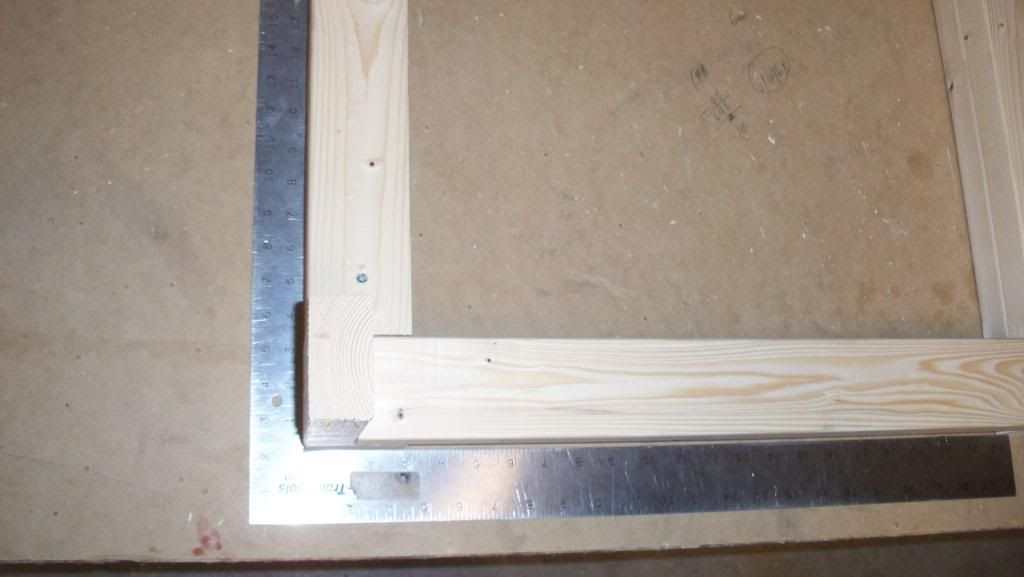
next step is gluing the support beams in and checking that everythings square, then the 3 steps glue-nail-screw
nail
screwed and ready for the next part
-
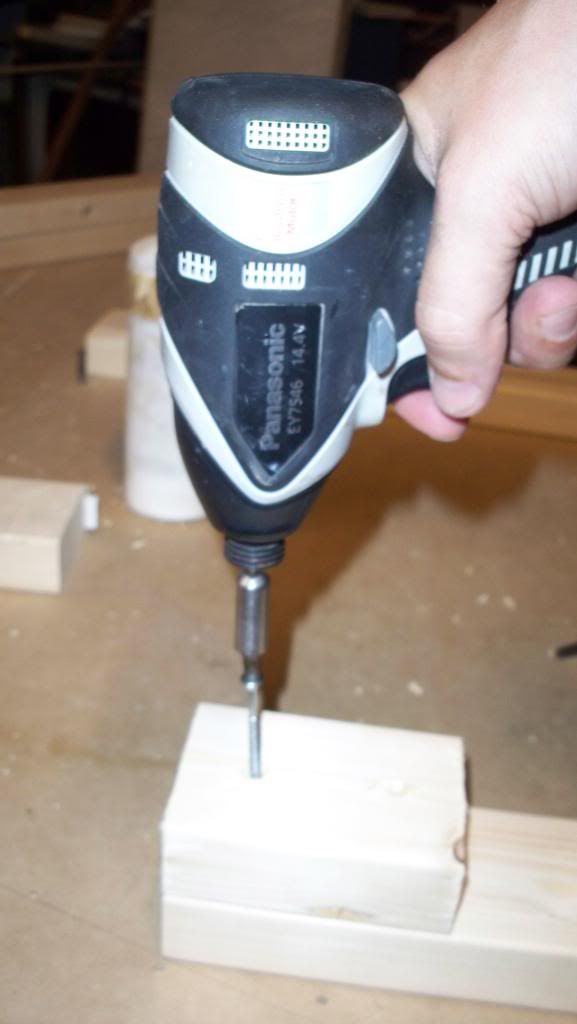
this is countersinked drill piece it allows you to drill and counter sink at the same time rather than swap the bits back and forth. note I have adjusted the length to suit the thickness im drilling into
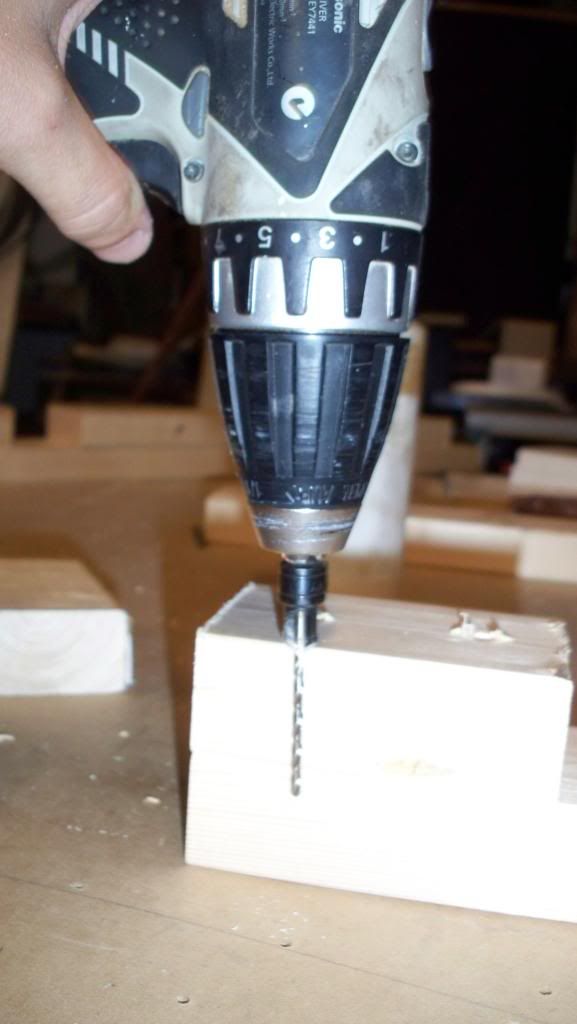
next step is pilot drilling the pieces you have nailed. the pilot drill is the countersink thingy I just talked about
here is the impact driver (aka) cordless screwdriver, you can see how I have checked the length of the screw to make sure its not going to go through but has enough thread to provide strength
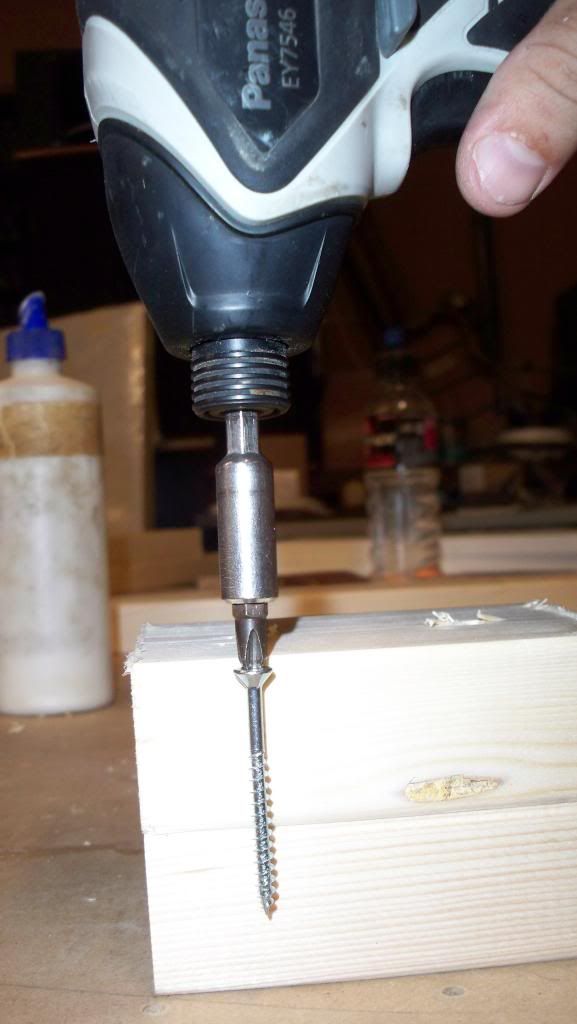
now you can drill the screws in all the countersunk holes
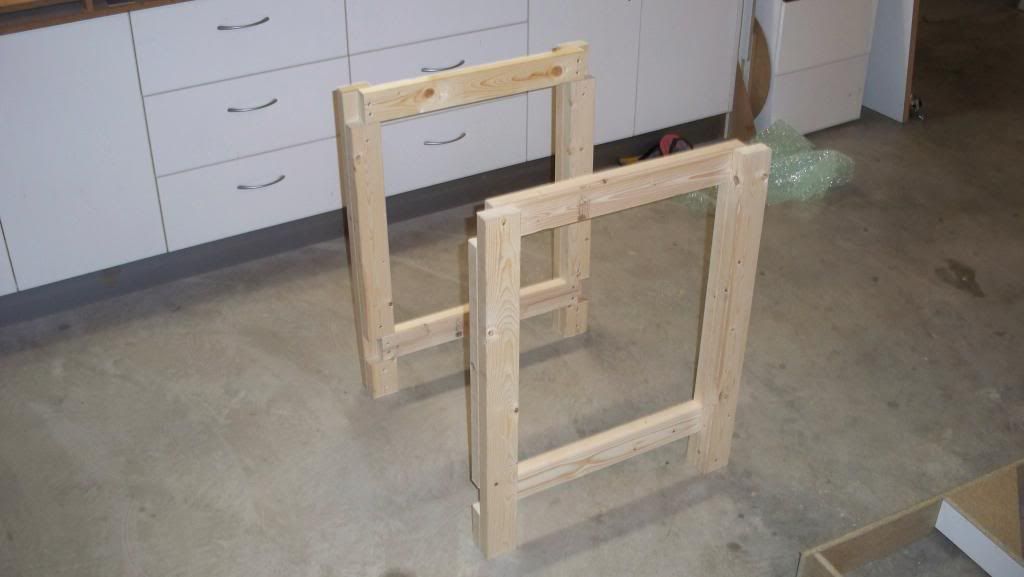
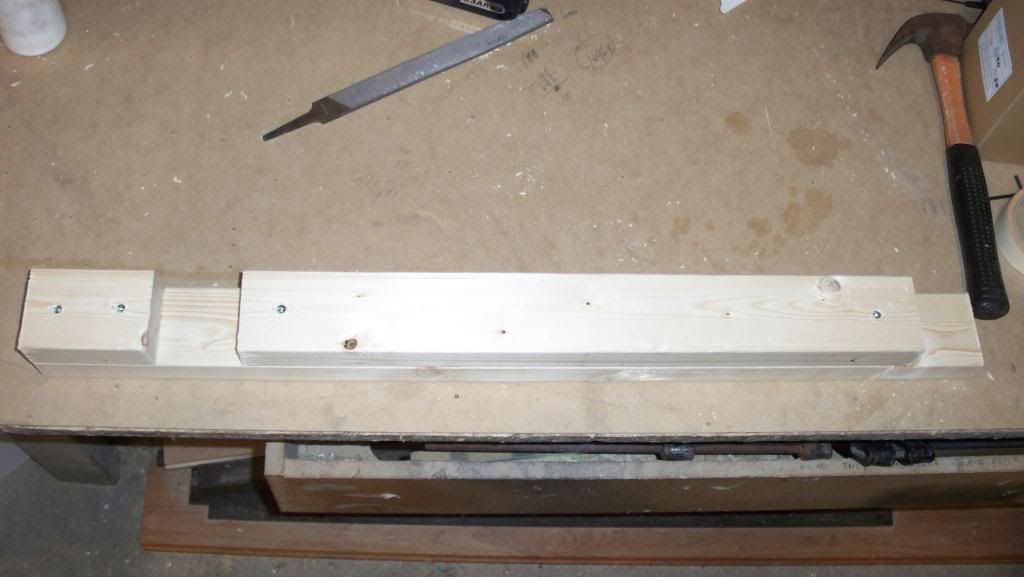
one finished leg three more to go
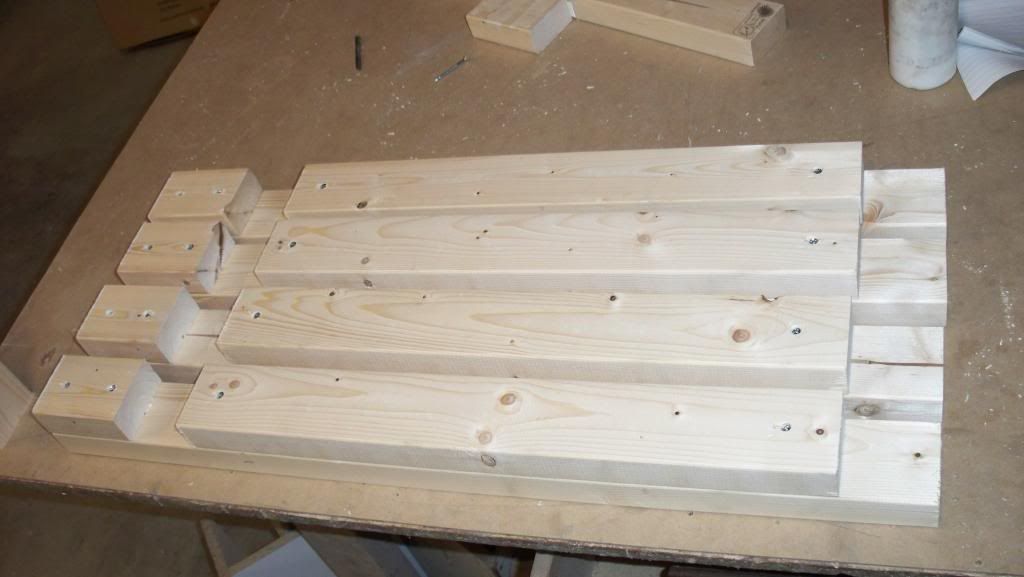
all the legs ready for the next step
-
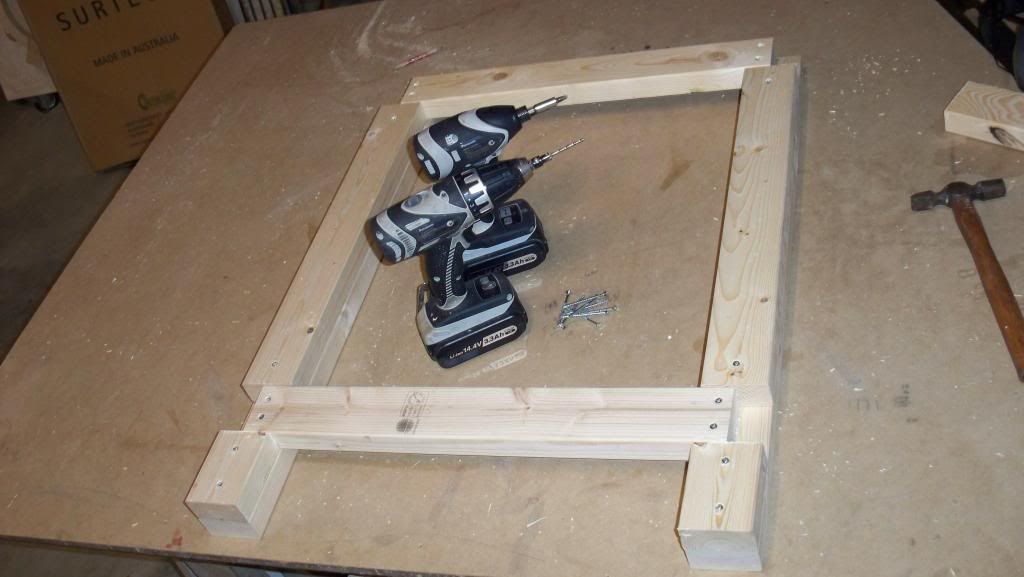
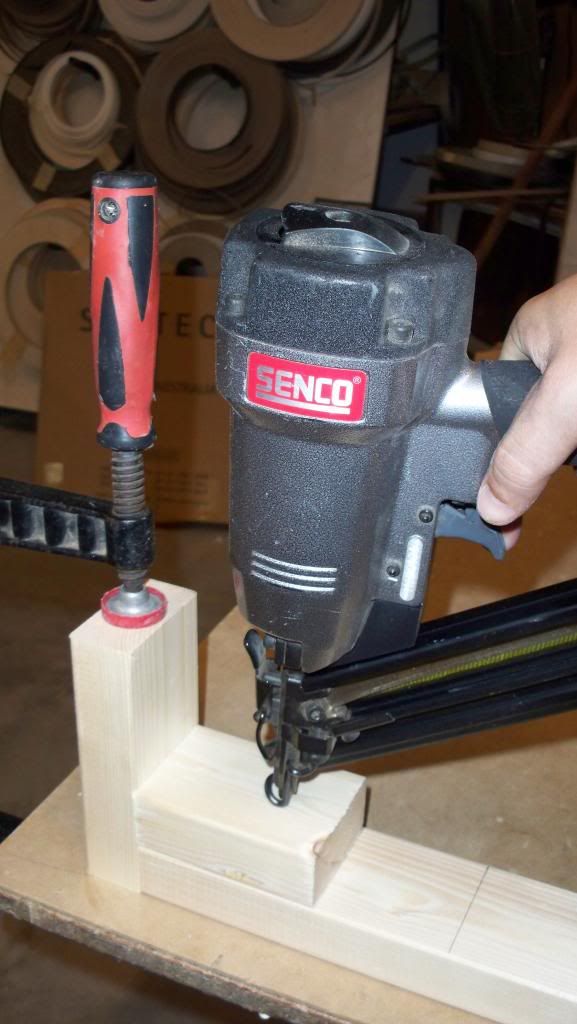
in this pic there are the essential tools that make life easy, cordless drill,driver,file,pva glue,nail gun for tacking the timber so you can drill and screw it without it moving, notice also I made a jig on the end so I can push the timber up flush and nail it

I then glued the non-face side this is the side that has defects like knots and marks so it can be hidden
next step is then placing the glued pieces on the main long leg and then tacking it with a nail gun, make sure the nails arnt to long or they could go through what ever your nailing especially short bits
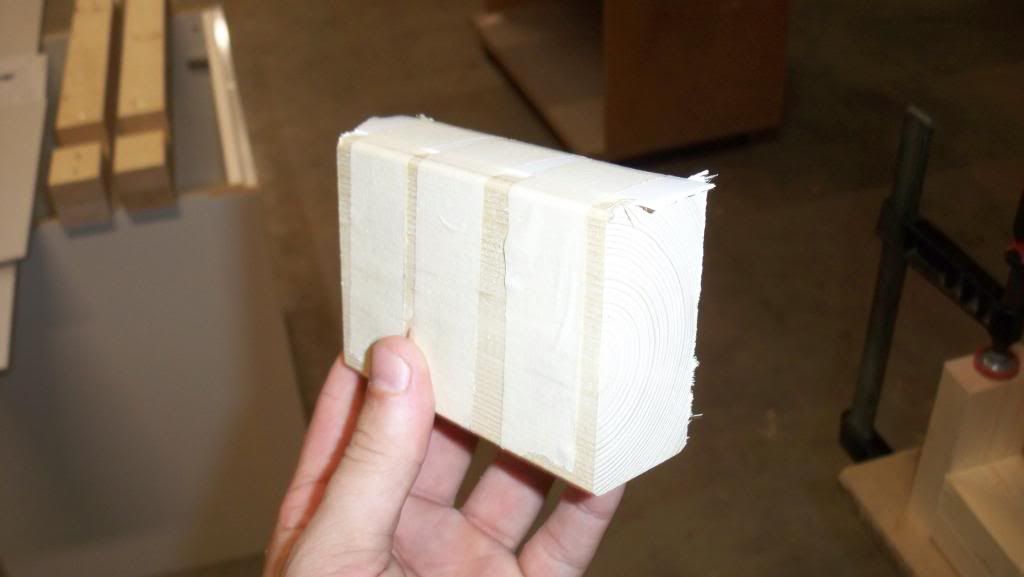
this is a dummy piece (spacer) with a abit of 1mm pvc tape on the end so it can allow me a tolerance so the main supports can slide in just right without being to tight.
now you can see the whole leg starting to come together, the short piece-the spacer-and the other long piece, note that I am pushing the leg up against the jig too
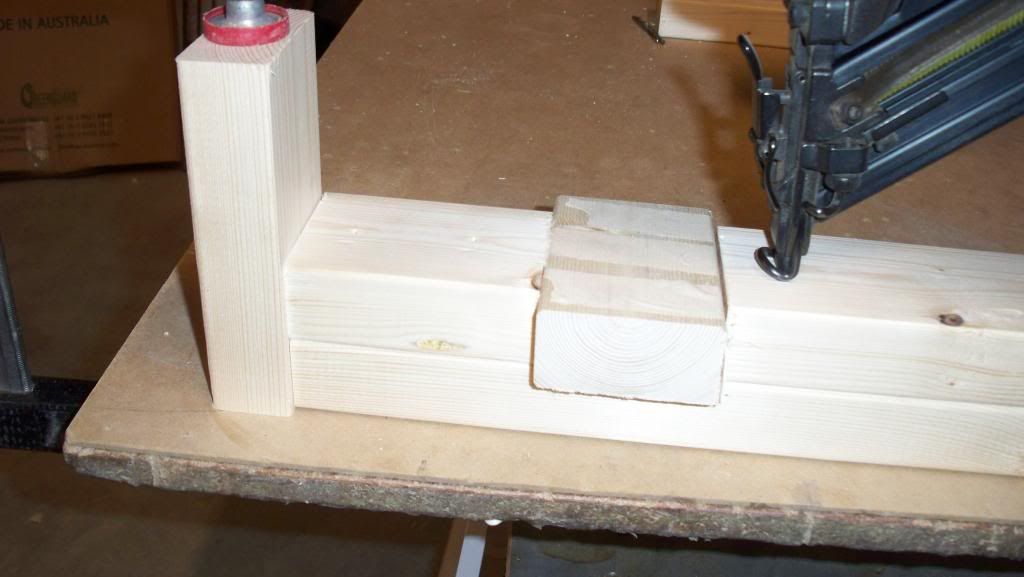
with all the pieces nailed together I then check the bottom of the leg nmaking sure its flush. if not you can hit it with a hammer and then get ready to screw it off in position
-
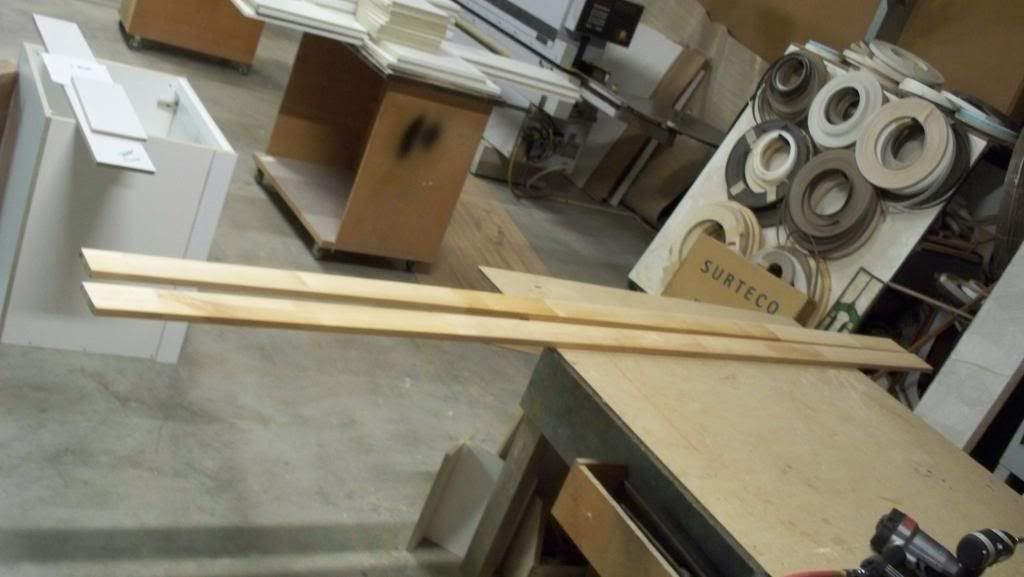
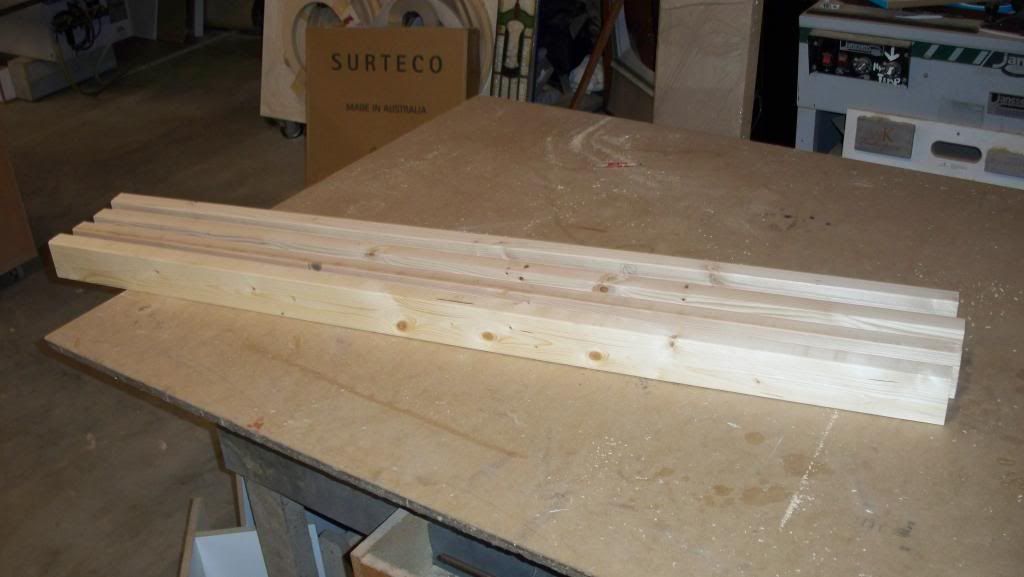
pine battens. 2400x70x35mm x 8, when you first selected you should sight them down to make sure they were pretty straight this is essential when building stuff because you cant work with crooked,twisted wood
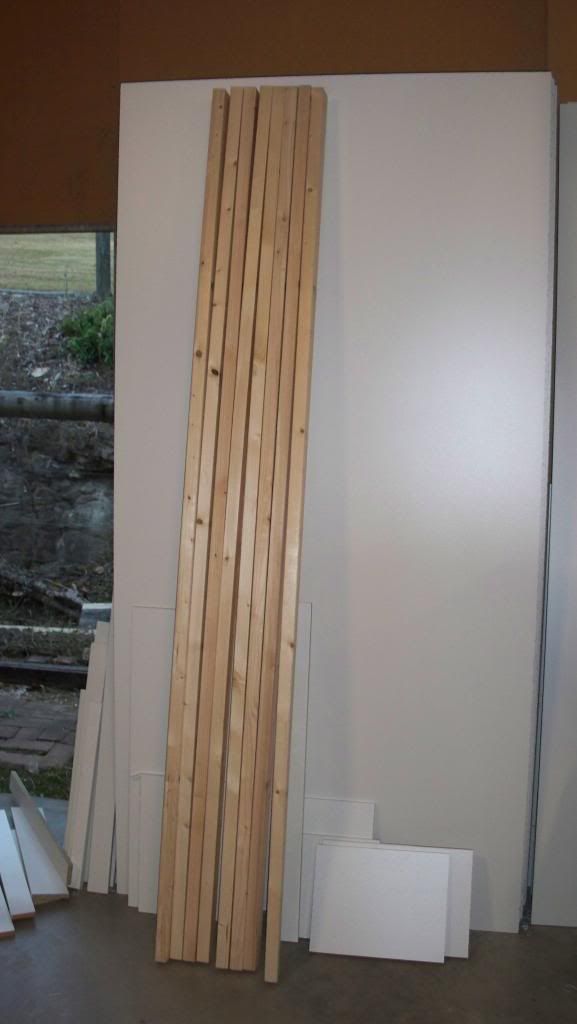
next step is laying the wood on a perfect flat surface and picking the best flat pieces for the main support beams, then stack them from A-grade to C-grade
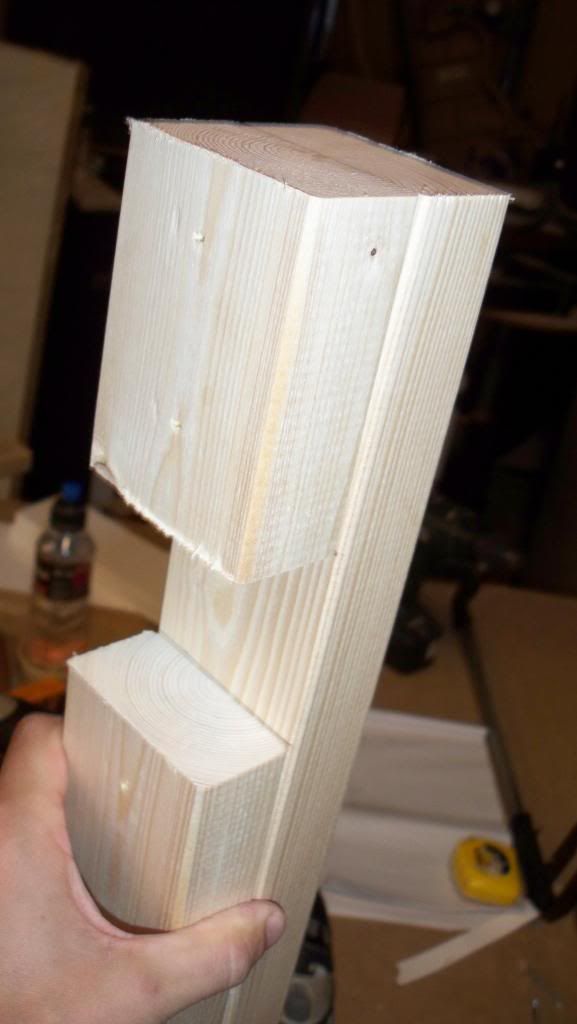
now once that's done get started on the legs and have i came up with a design that dosnt require trenching and is very sturdy and can hold a ton or two.
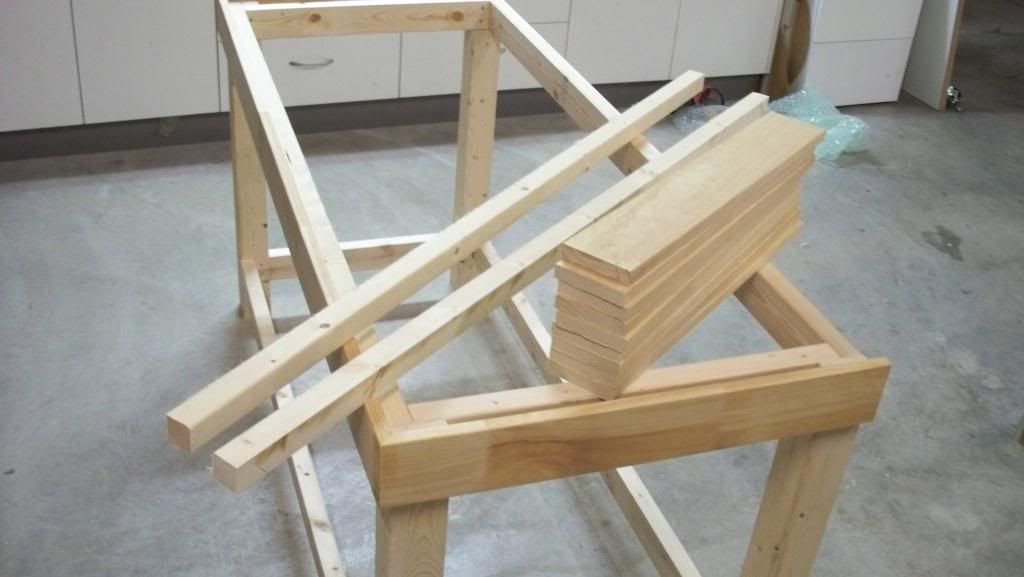
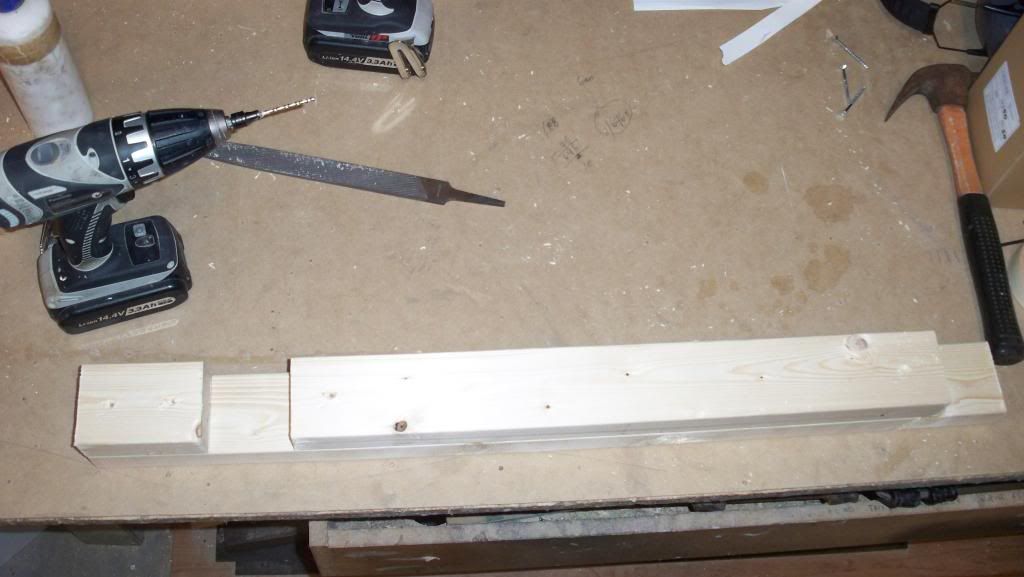
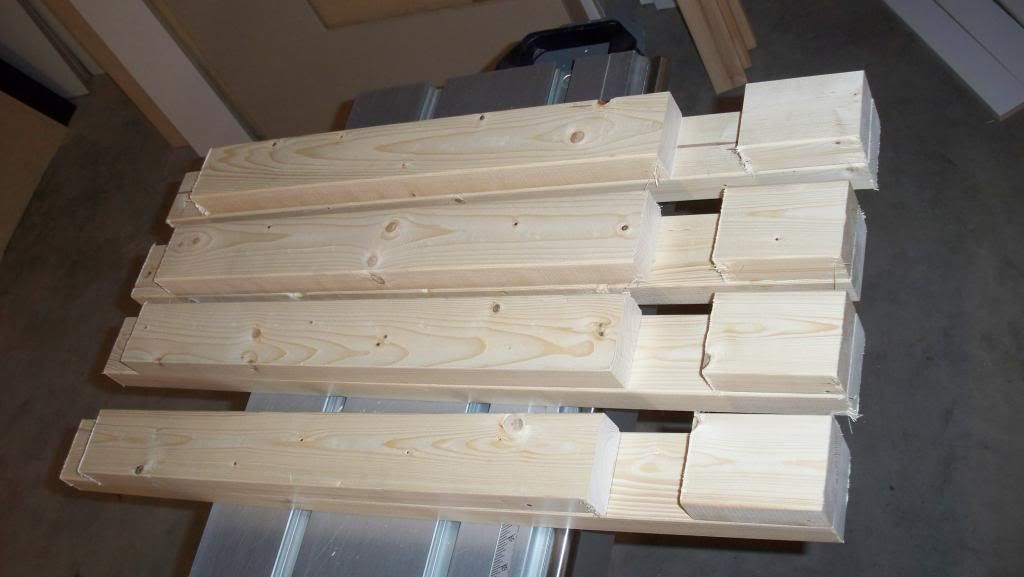
as you can see I have the main leg that is full length and then the other piece of leg that is dissected to allow the main horizontal beams to pass through
here they all are cut and ready to be assembled
-
hey guys its aussie here and ive just scored a little job to do for a guy from one of my local forums to build him a basic pine stand for his 5x2x2
I will be starting this build early next week and doing a full cutting list and plan drawn up to show how easy it really is to construct a stand for any size fish tank.
as a rule of thumb I usually have legs 2ft apart but being a 5 ft there will be a middle leg in the center at 2.5ft, the design will be very easy and require no tenon joins or trenching and provide maximum strength
I will also document the price for materials and build time for future reference. looking forward to this little project and hope to get some pics next Monday for you Click here to enlarge till then keep green from Aussie
material cost $80 total
pine 8x, 45x70x24000mm structural pine batterns
pine 3x, 80x15x2400mm fingerjointed pine arcatrave
screws 50mm,57mm
pva glue
(tools)
cordless impact driver
cordless drill
sliding table saw
tape,pencil,paper,calculator
roofing square
-
try new life spectrum pellets for there general dry food then spoil them with bloodworms, or live brine shrimp
or you could master chef it
2 lbs. of cleaned beef heart
1 1/2 lbs. of fresh cod, scrod, or peeled table shrimp.
4 egg yolks (no whites)
20 prenatal vitamins
1 cup of wheat germ
1- 2.75 ounce bottle of Tetra "Color Bits" (from your pet store)
1 cup of ground up freeze-dried krill or plankton (from your pet store)
1/4 teaspoon of spirulina powder (from your health food store)
2 packs of Knox Gelatin
Have flake food on hand if the mixture is the wrong consistency.
-
good on you abigal for writing this book and educating our young about how important river systems are and the native fish that live there, all the best :thup:
-
really really nice tank !drool:
well done very tidy and great equipment, you certainly know what your doing mate :thup:
-
excel can be used as a algae protolactic in treating bba it can and will melt plants if not diluted and left on for to long.
i found the hard way and lost around 5 large anubuis inc my best coffeeolia
-
thanks for sharing a would love to get my hands on some of there stock.
heres a link to another large company that you may of heard of
-
nice project mate cant wait for more pics and setup info
-
i would probaly go with the dowl method as mentioned that way you can remove it and dismantle/assemble it in the tank
its also more organic. ive seen reef scapes done this way with holesaws and small pvc pipe
-
hqi metalhalides or 1-3w cree leds will grow anything over 2ft deep
-
50% every fortnight keeps things in check but i can let it go for around 3 months without co2 and ferts before it starts to get a little hazy (diane walsted method)
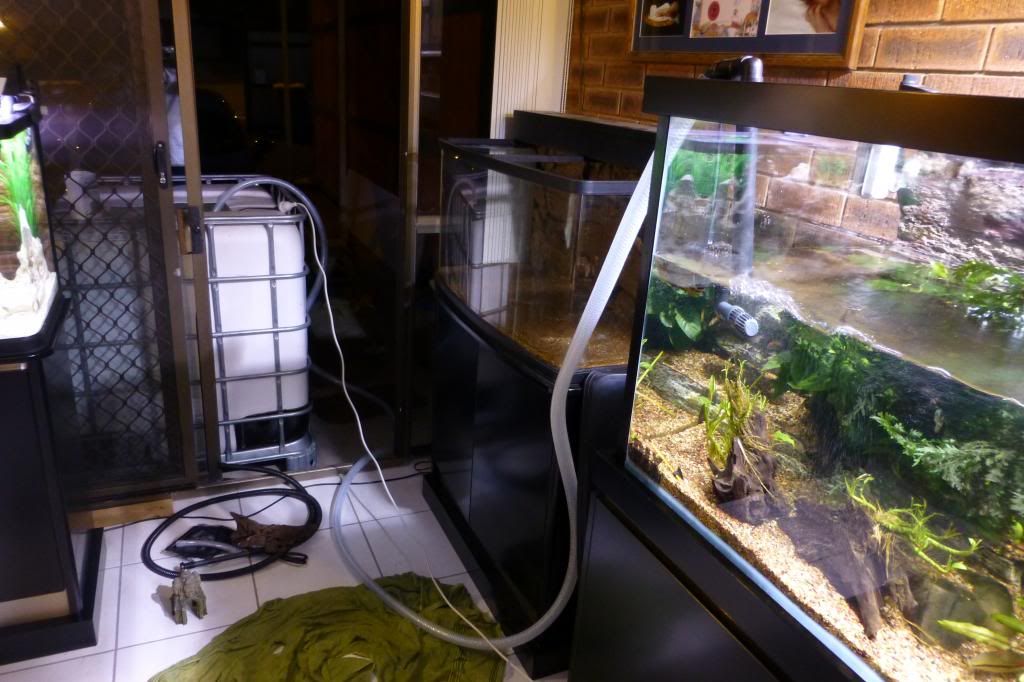
anyways here's how i do my water changes
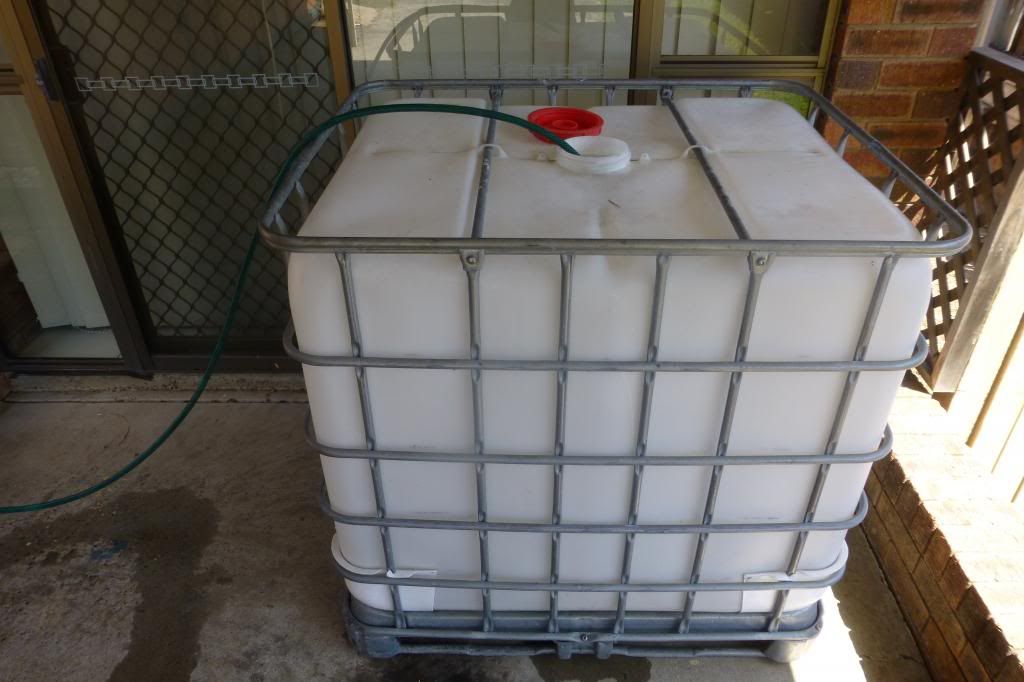
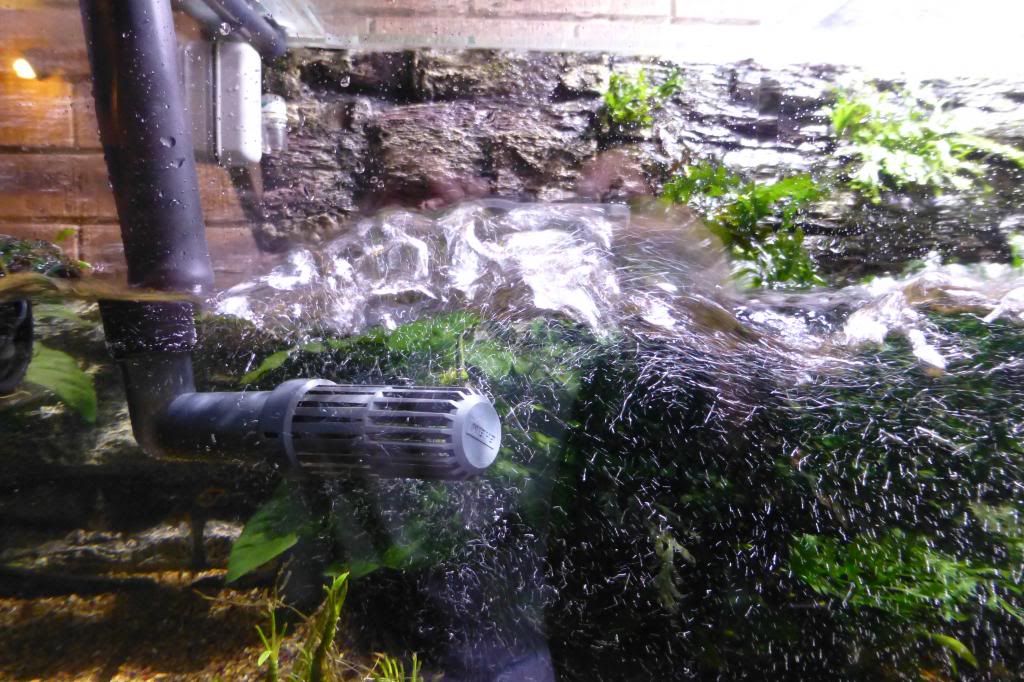
1000ltr ibc filled and pre treated with prime-equilibrium-easylife + 5000lph eheim powercompact + 30 minute w/c with beer in hand
the key to success in fishkeeping is water quality and i will stick by that in many cases, you cant avoid waterchanges there essential and need to be done to reduce the influx of nutrients that build up overtime. its best to pre prep your water that way there minimal fluctuations with large changes , your fish will love you for it :-)
-
my gf has put up with alot of tanks in my old house but the new rule is no tanks in the main bedroom :lol:
i had 5 tanks running and about 30 tanks next to my room but now ive moved house and downgraded to just one,
and now im aloud to have 1 more so im making it count with a 700g in the garage, any one got a forklift to help move next year?
the man-fish cave tour
-
top camera and top photography skills bro, i have a mate here in Australia by the name of brent smith he also takes great photo's of his fish
feel free to check him out http://www.brentsmith-photography.com/
-
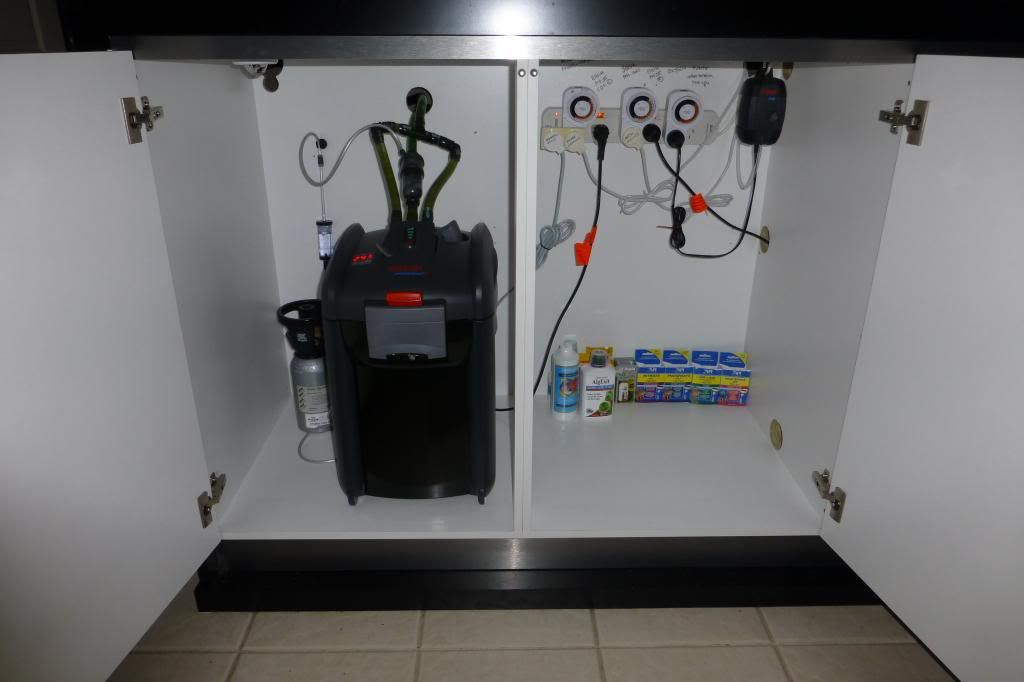
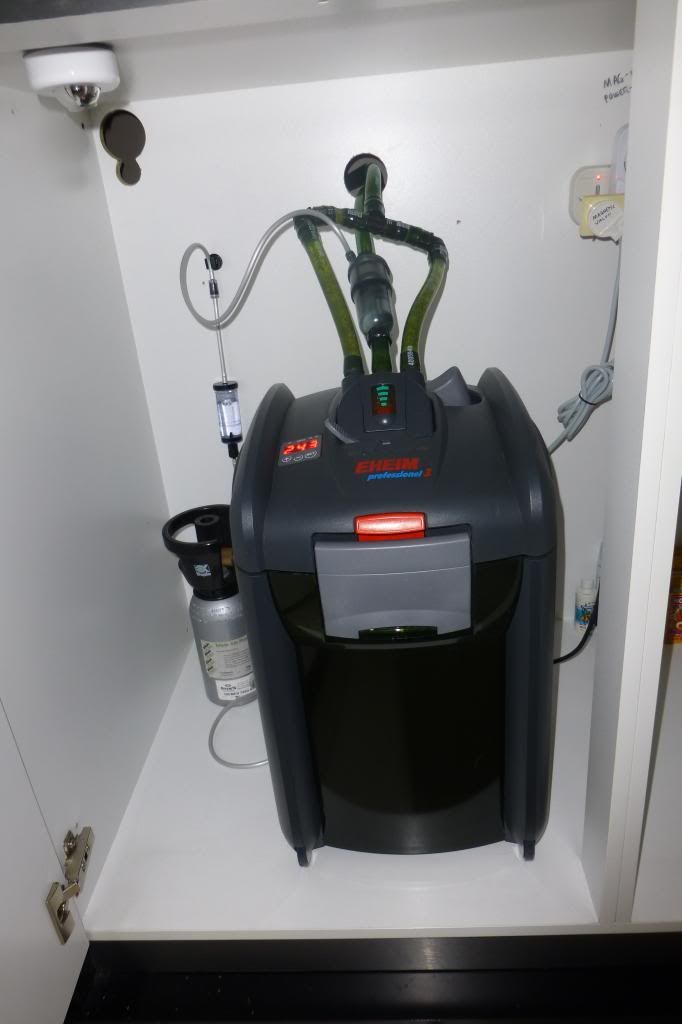
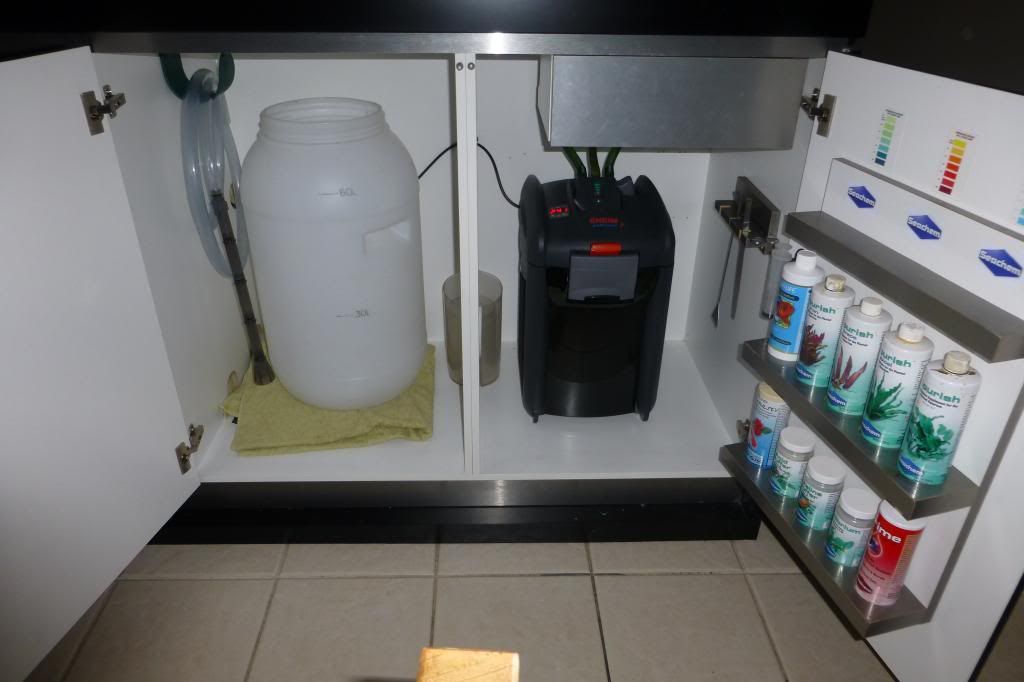
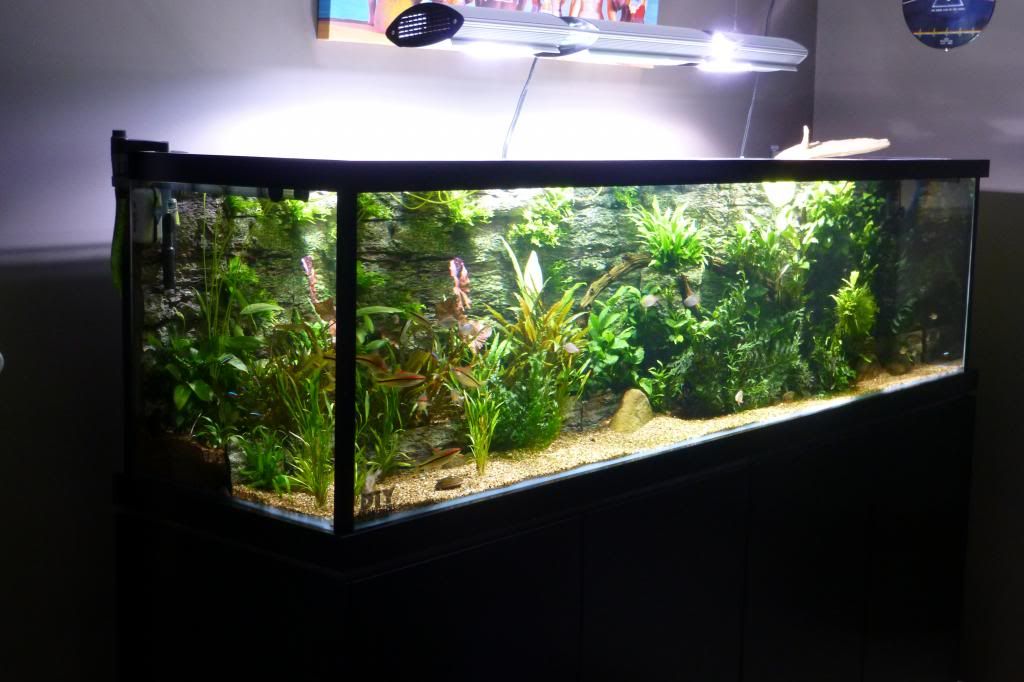
Equipment overview
Eheim 2180 thermo canisters (26 liters of subpro media) rated for 3000ltrs and 1000w of heating inbuilt
Dupla combi Electra II hqi lighting, co2 bottle+reg,mag valve
Sera co2 reactor
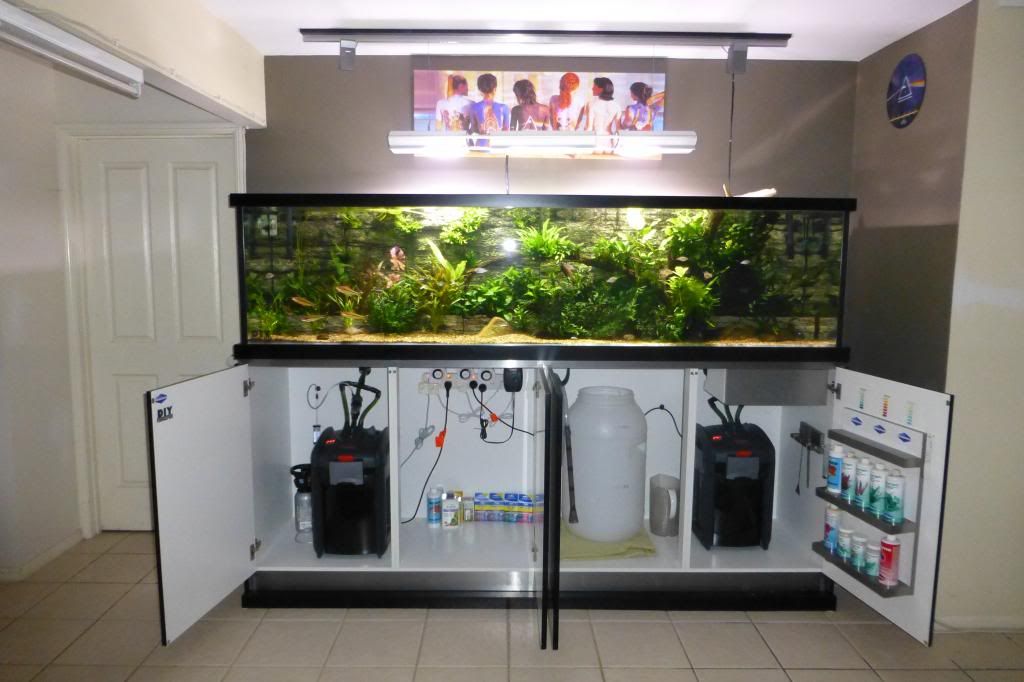
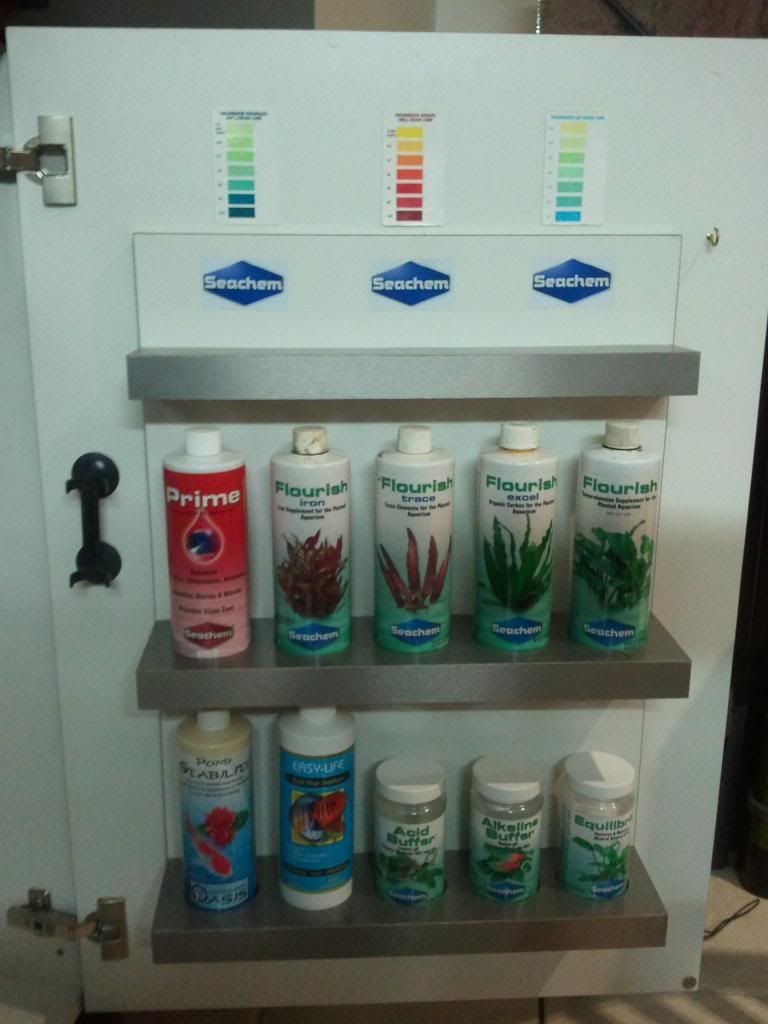
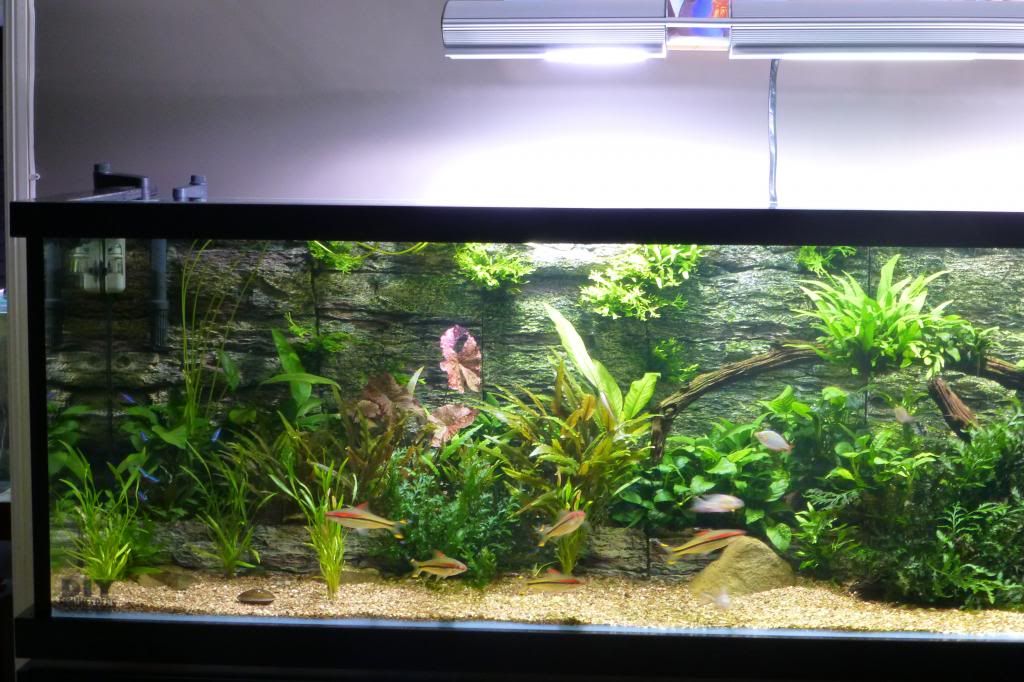
left side
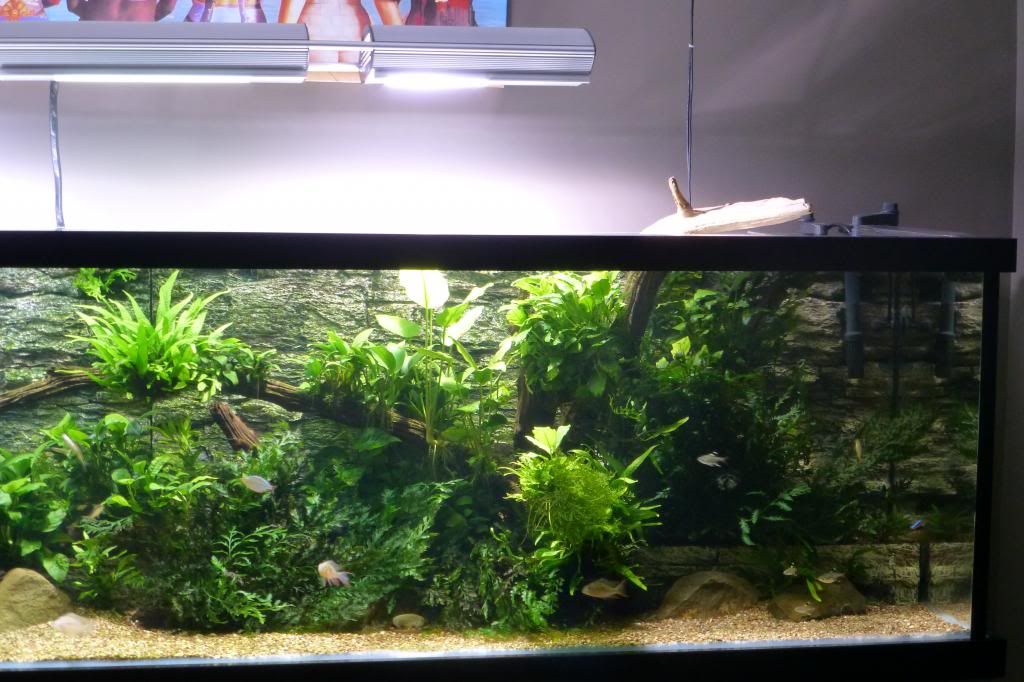
right side
-
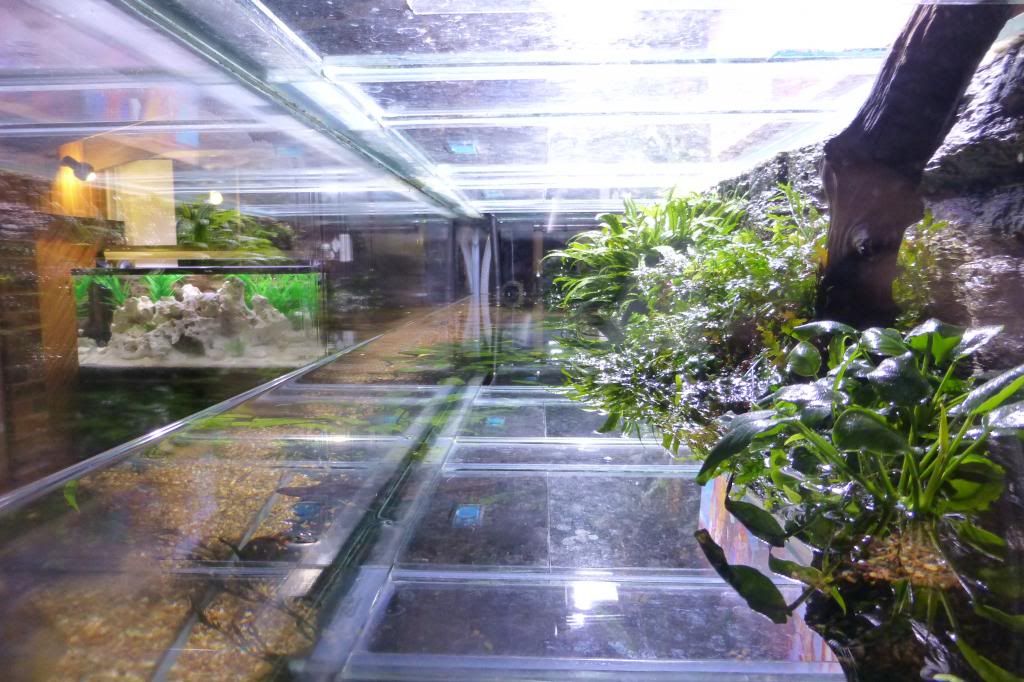
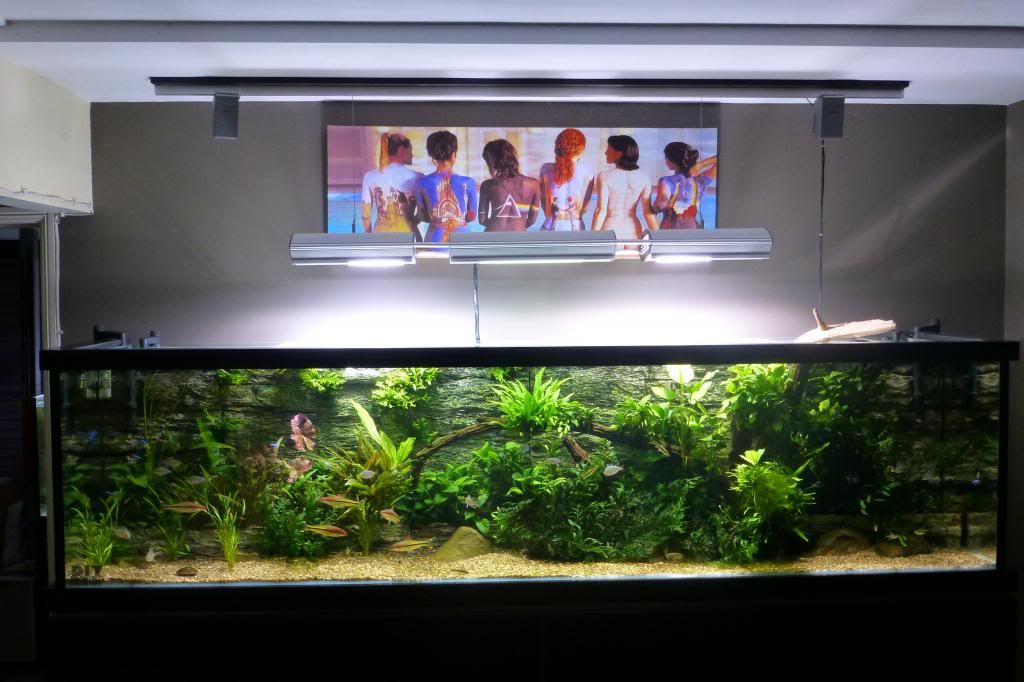
FTS
CNR
LEFT
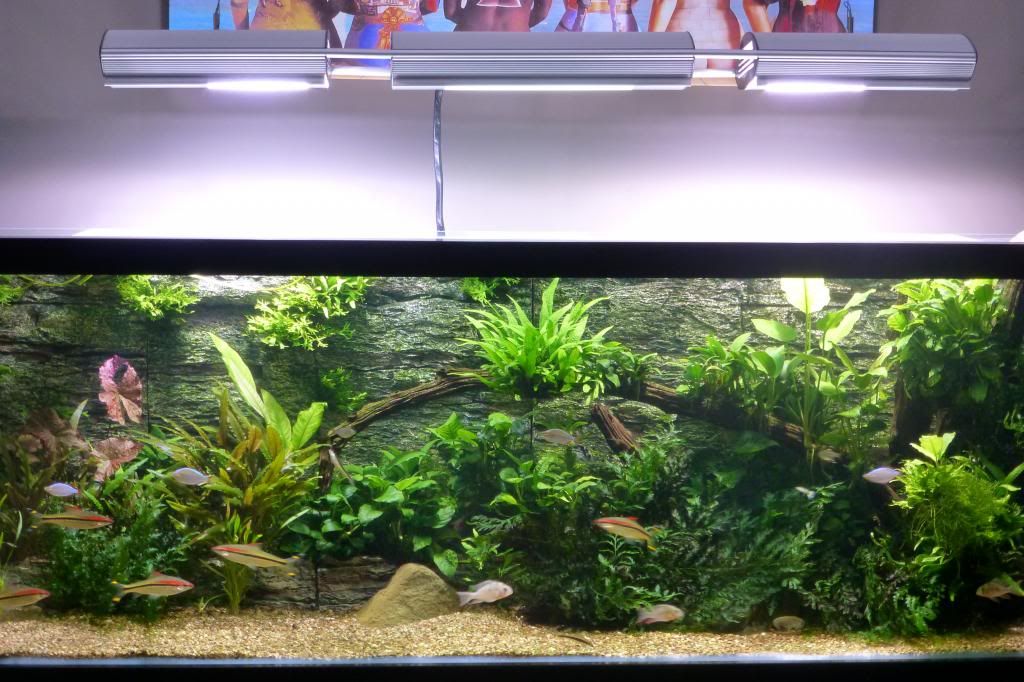
MIDDLE
RIGHT
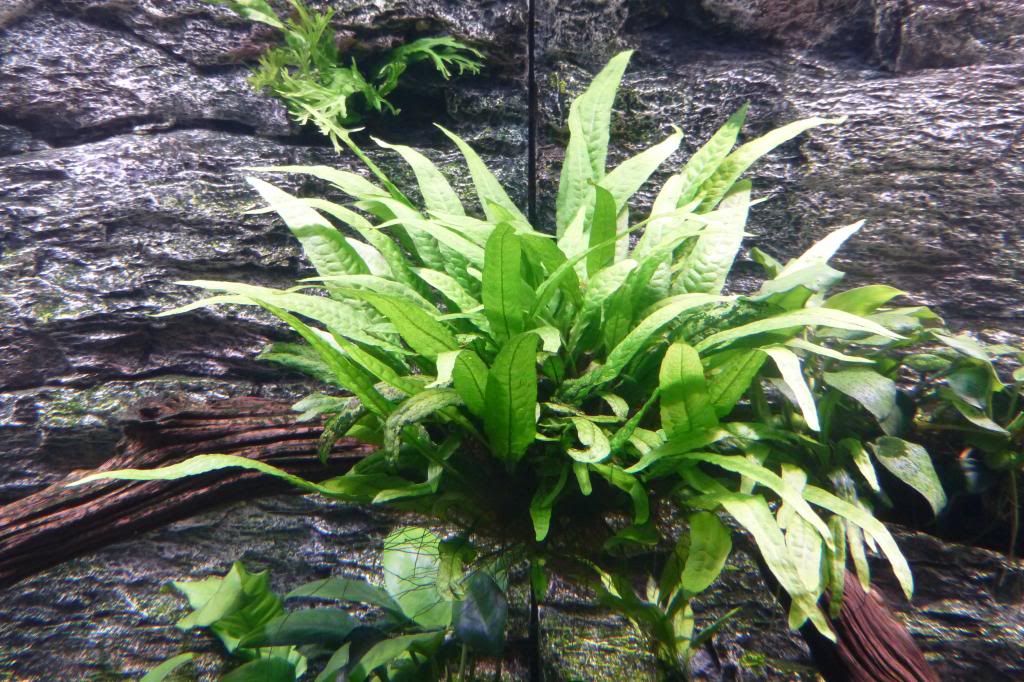
healthy looking java


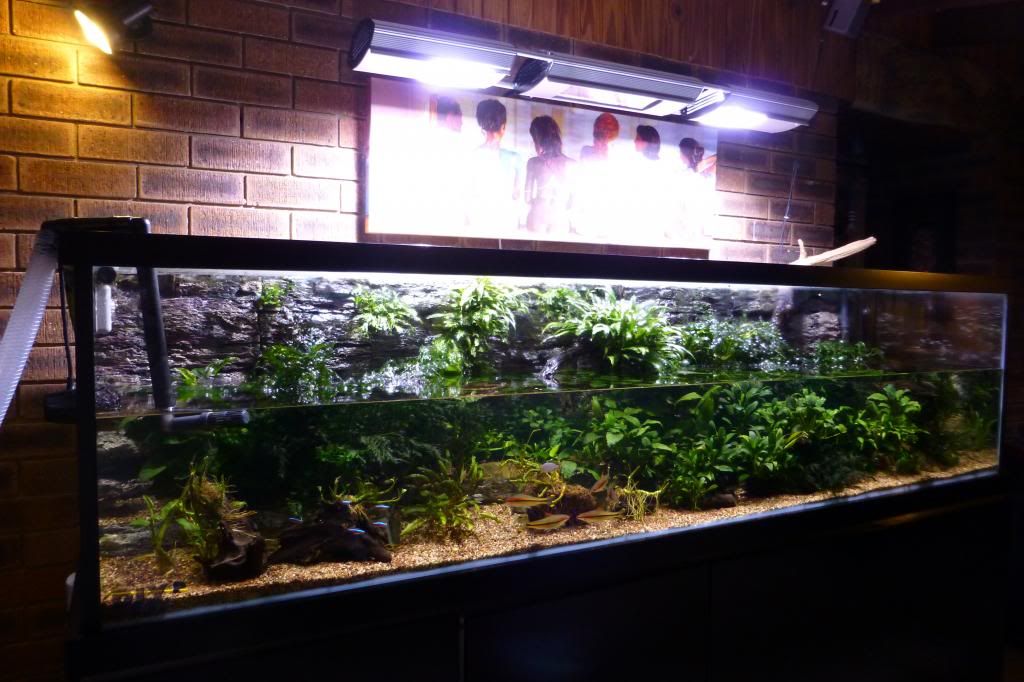
8x2x2 starfire custom planted cabinet+open canopy
in DIY Section
Posted
hey guys I got a new camera for xmas and thought I would share some pics of the 240, hope you enjoy cheers